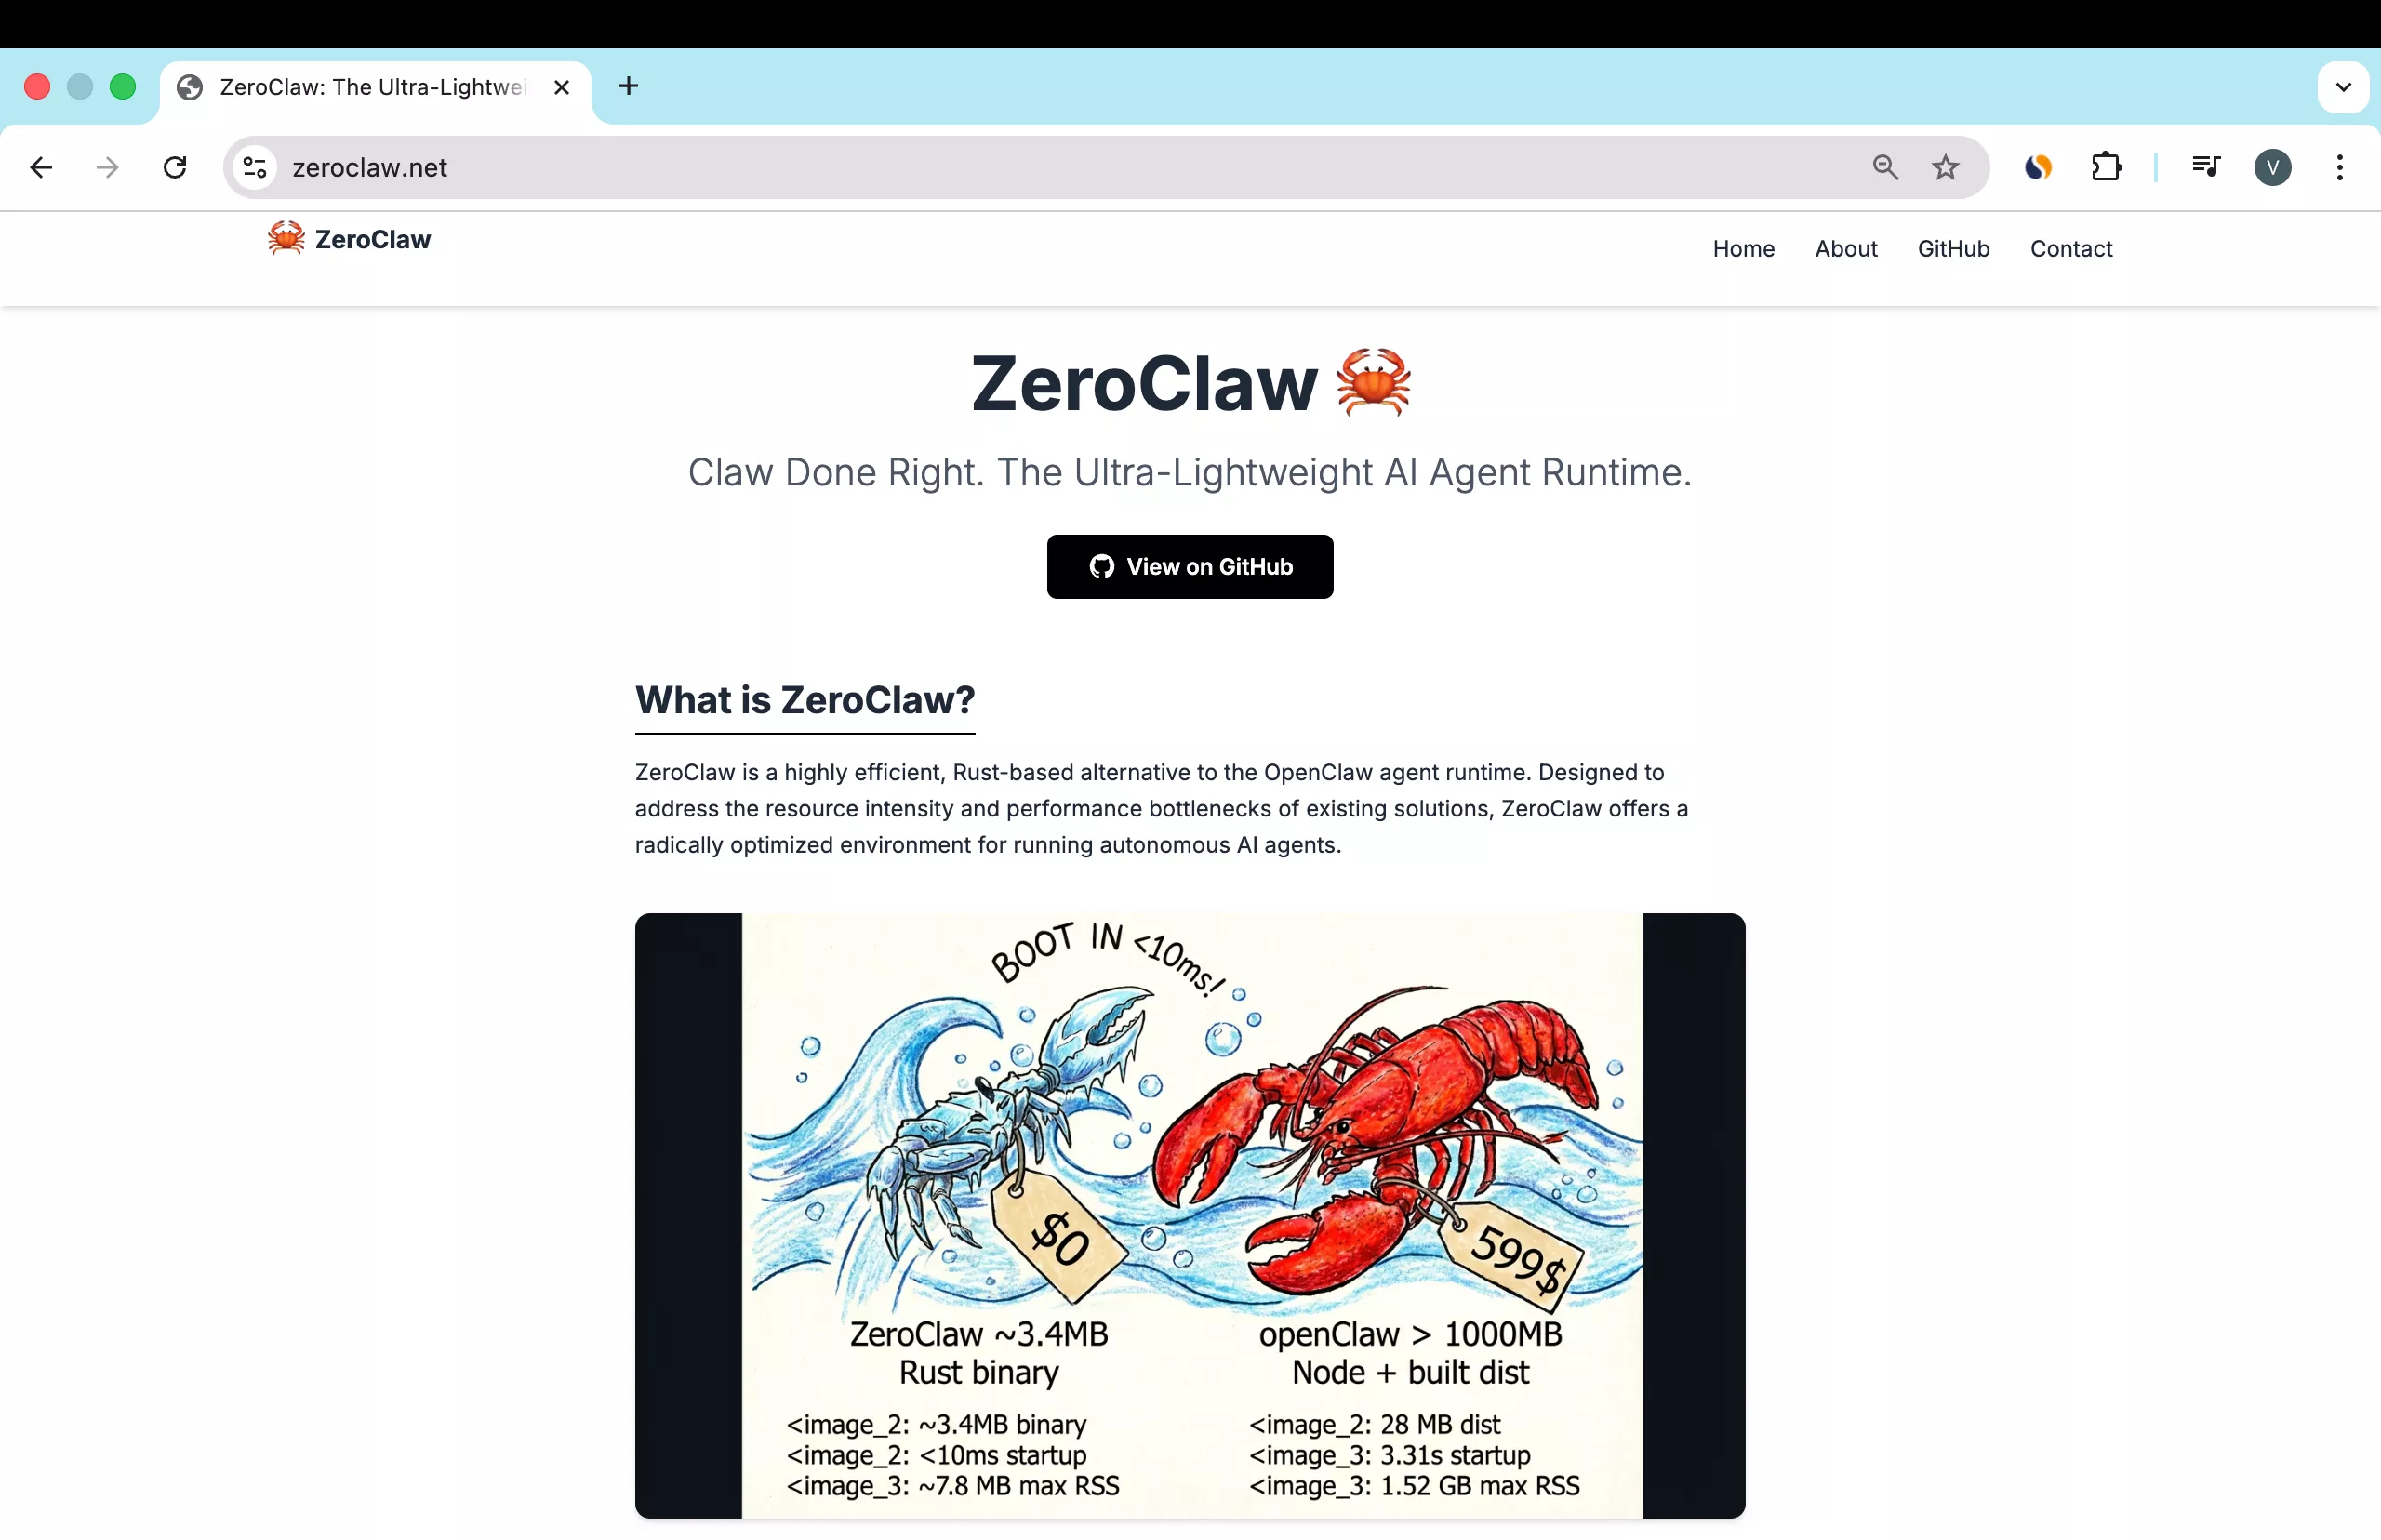
ZeroClaw runs great on a Raspberry Pi Zero 2 W because it is a single Rust binary with no runtime and no dynamic dependencies. Startup is faster, the binary is about 3.4 MB, and memory usage is extremely low. For details and news, see the site.
OpenClaw is a Node.js app with lots of npm modules and dynamic dependencies, which makes it heavier on tiny boards. ZeroClaw is self-contained and built for this. For a side-by-side, see this quick comparison.
# Run ZeroClaw on Raspberry Pi Zero? Overview
I am using a Raspberry Pi Zero 2 W with wired Ethernet via a USB Ethernet adapter and an OTG adapter. The Wi-Fi radio on the Zero can lag during big updates, so hardline it to your router for setup. You can switch back to Wi-Fi later if you want.
I recommend a simple kit with a case, heat sink, OTG cable, and an HDMI adapter if you plan to plug into a monitor. A 64 GB microSD card is fine for this use. You will also want a Cat 5 or Cat 6 cable.
# Run ZeroClaw on Raspberry Pi Zero? Flash OS
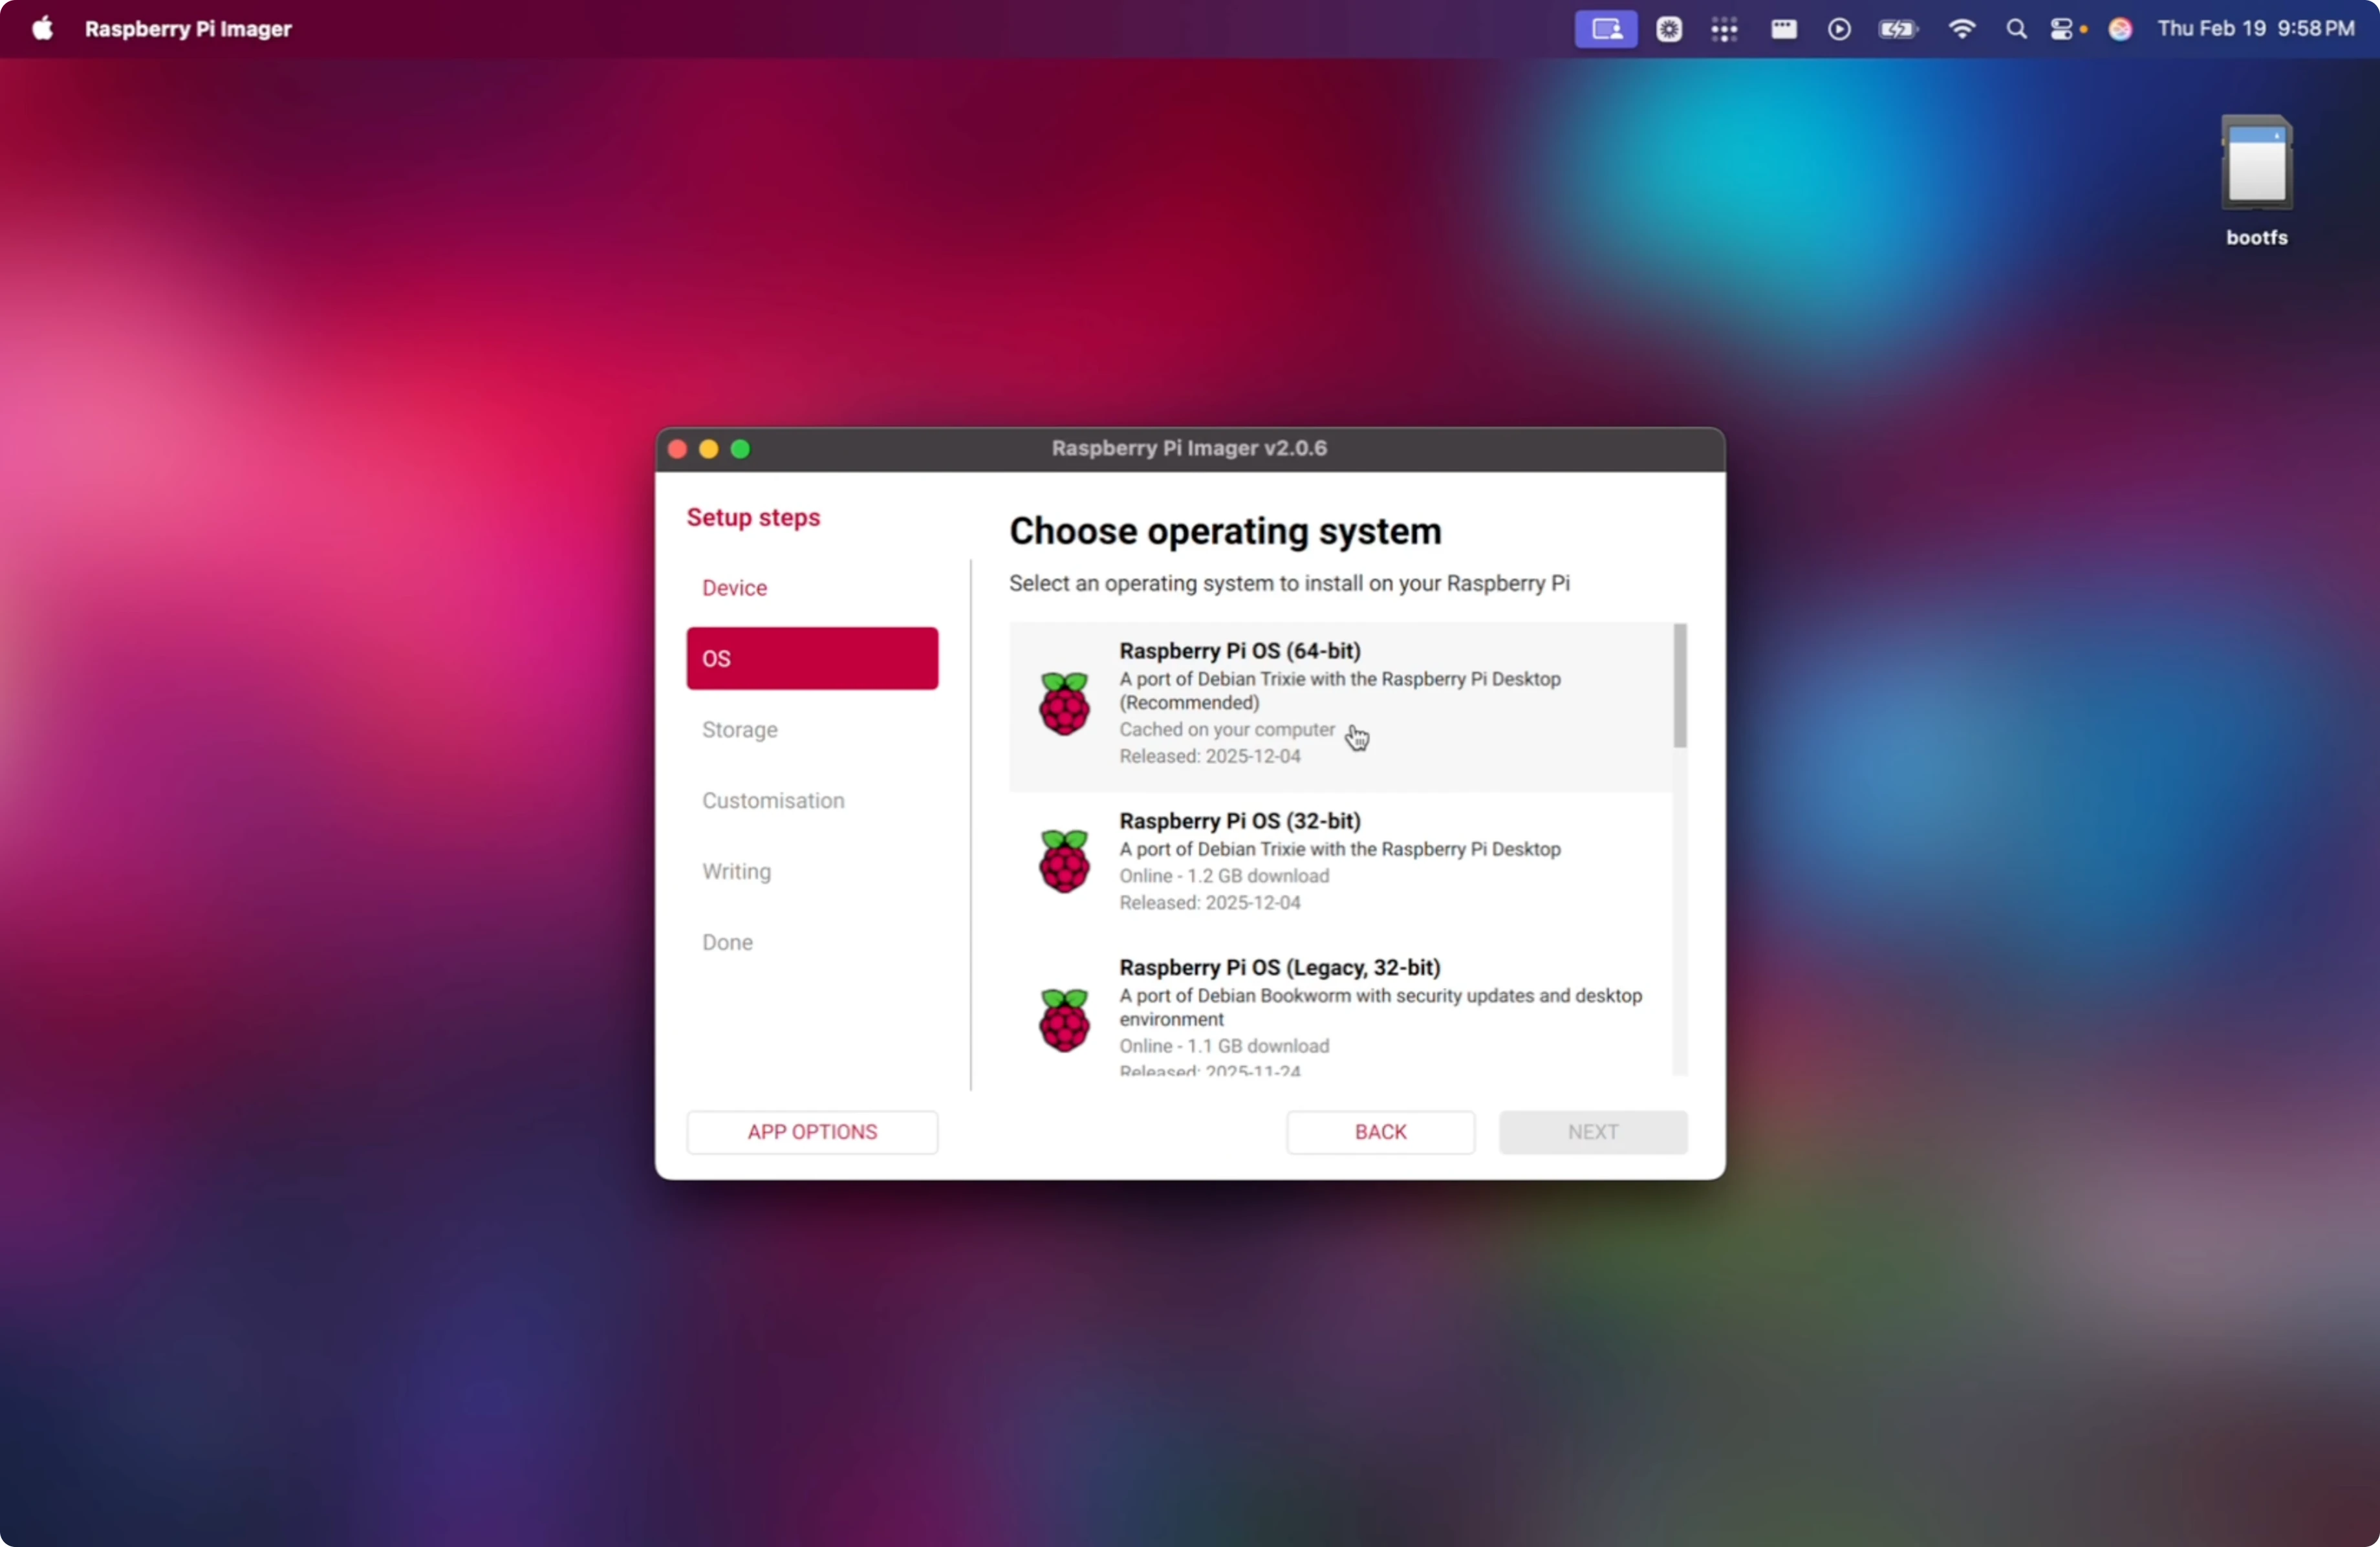
We will image Raspberry Pi OS 64-bit for the Pi Zero 2 W so the static aarch64 ZeroClaw binary is compatible. Give the board time to boot because it has 512 MB of RAM and a modest CPU. Be patient on first start.
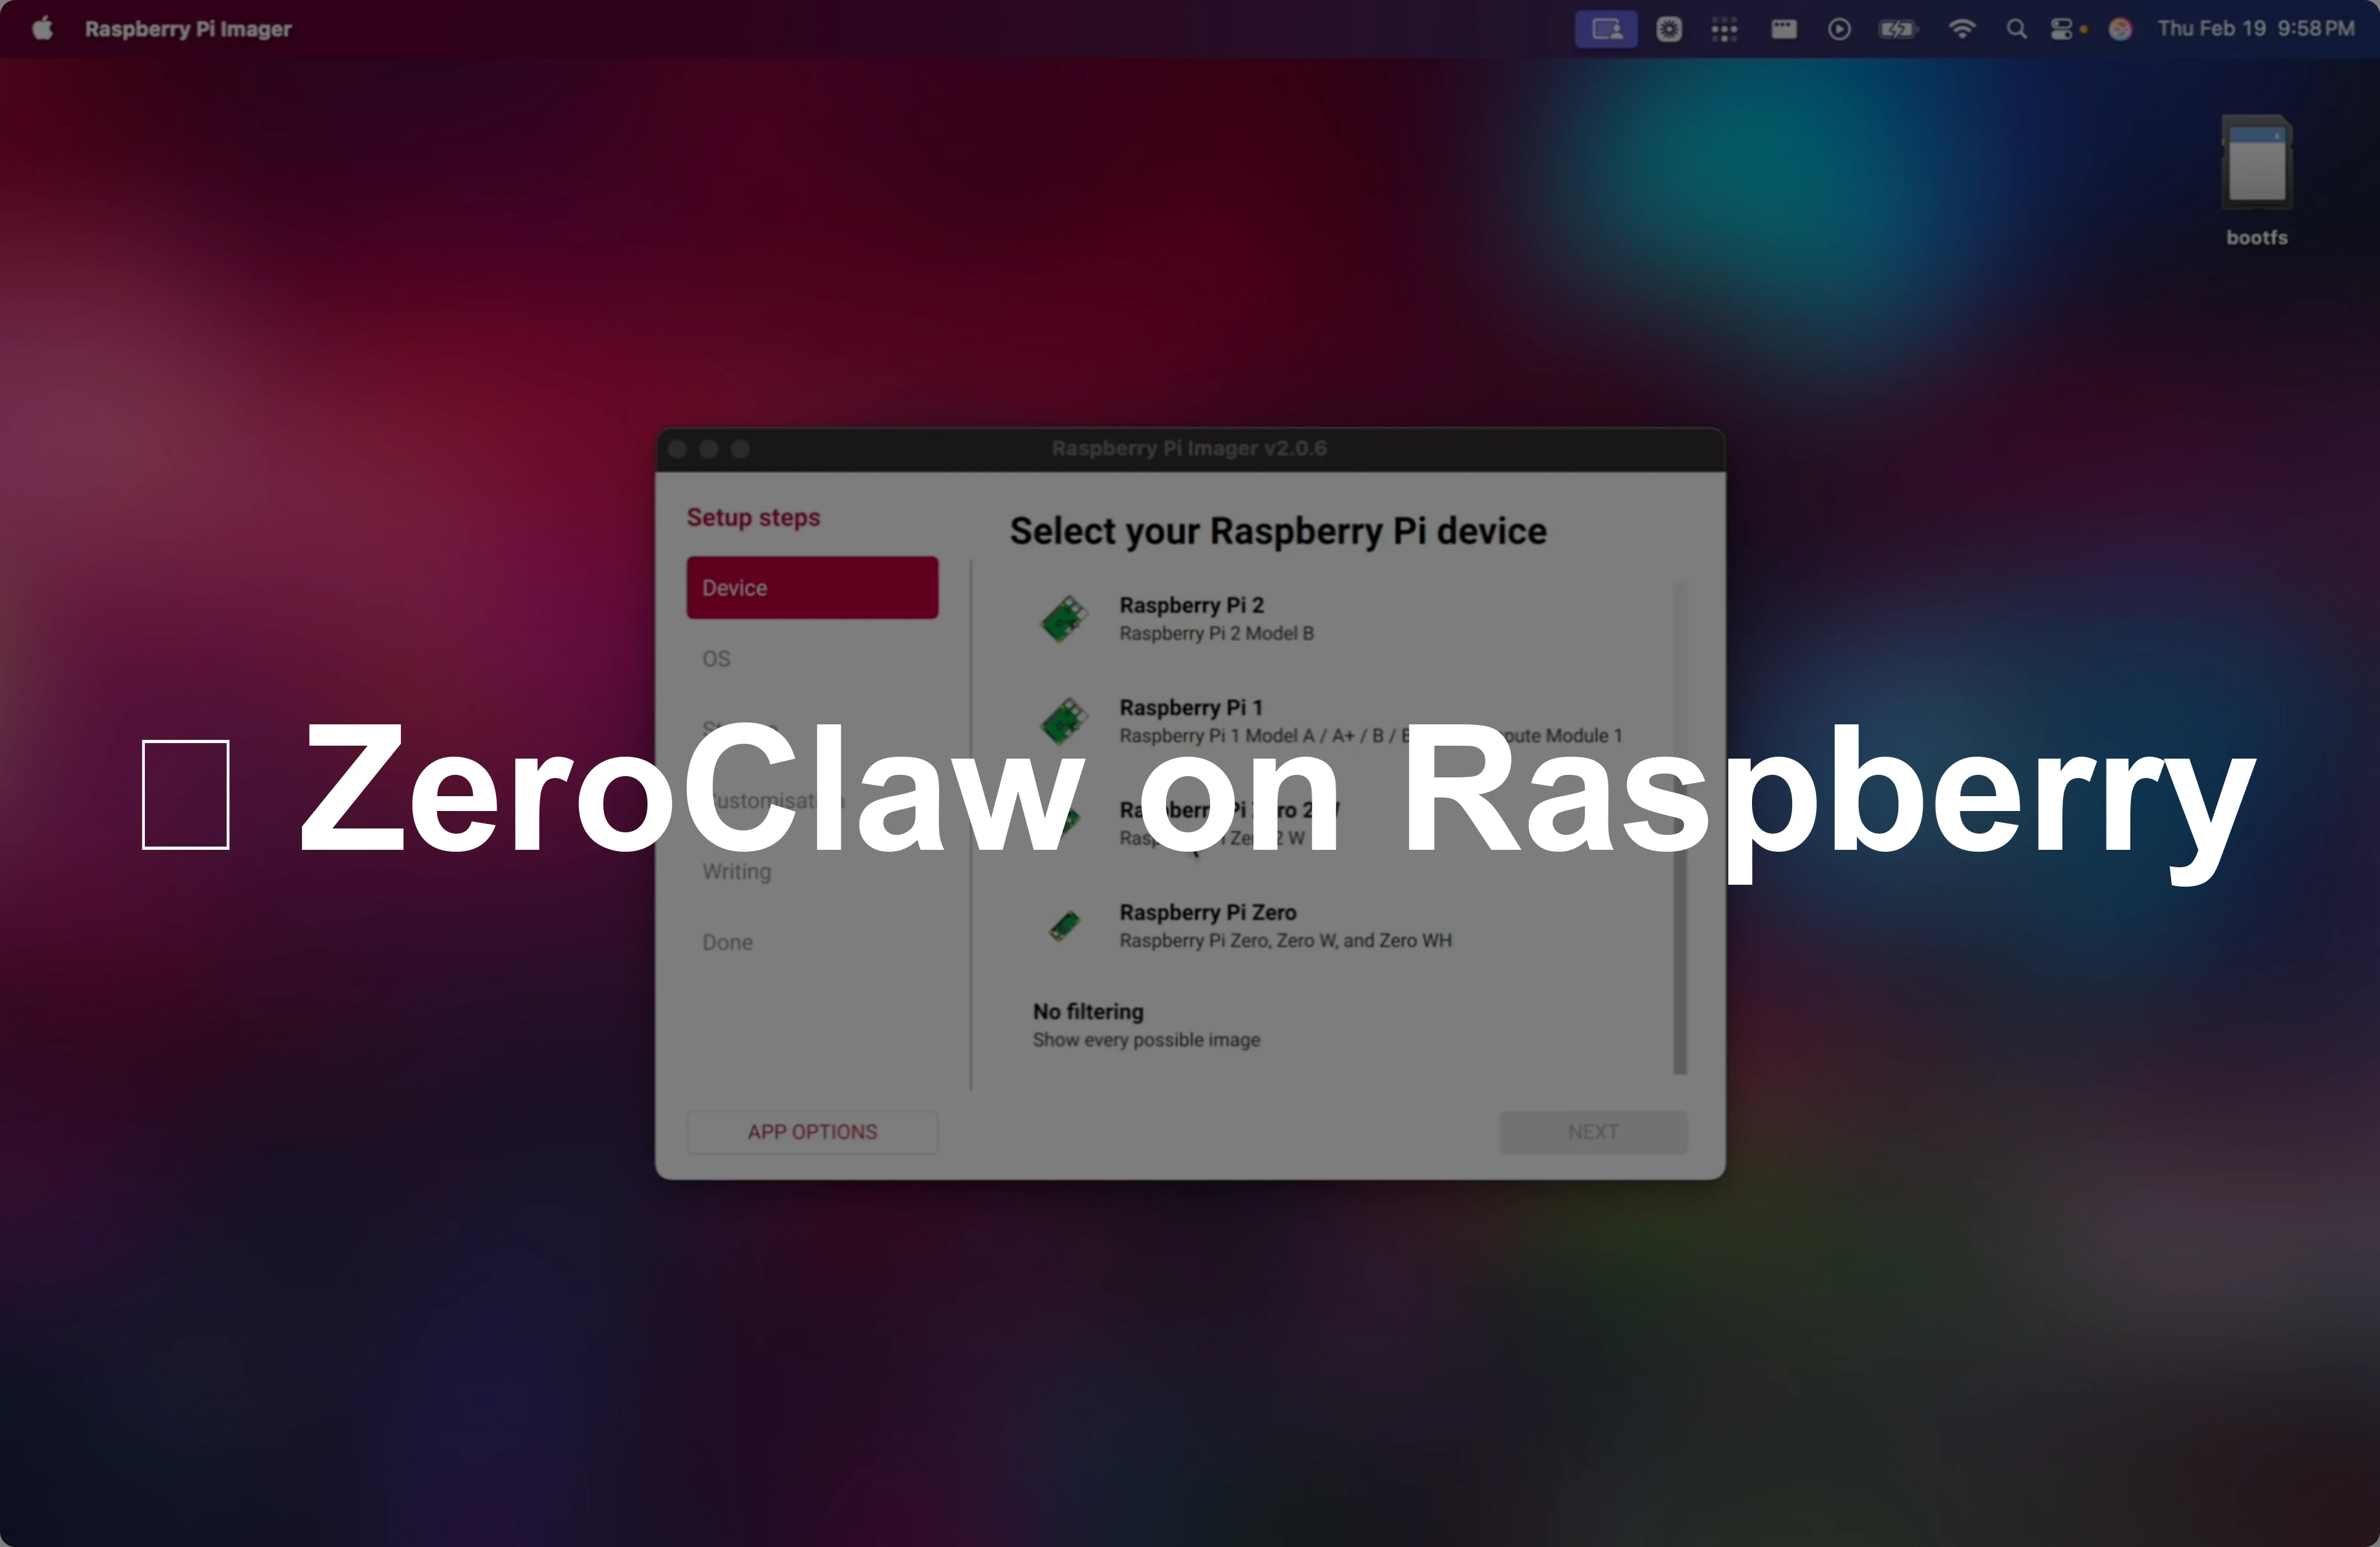
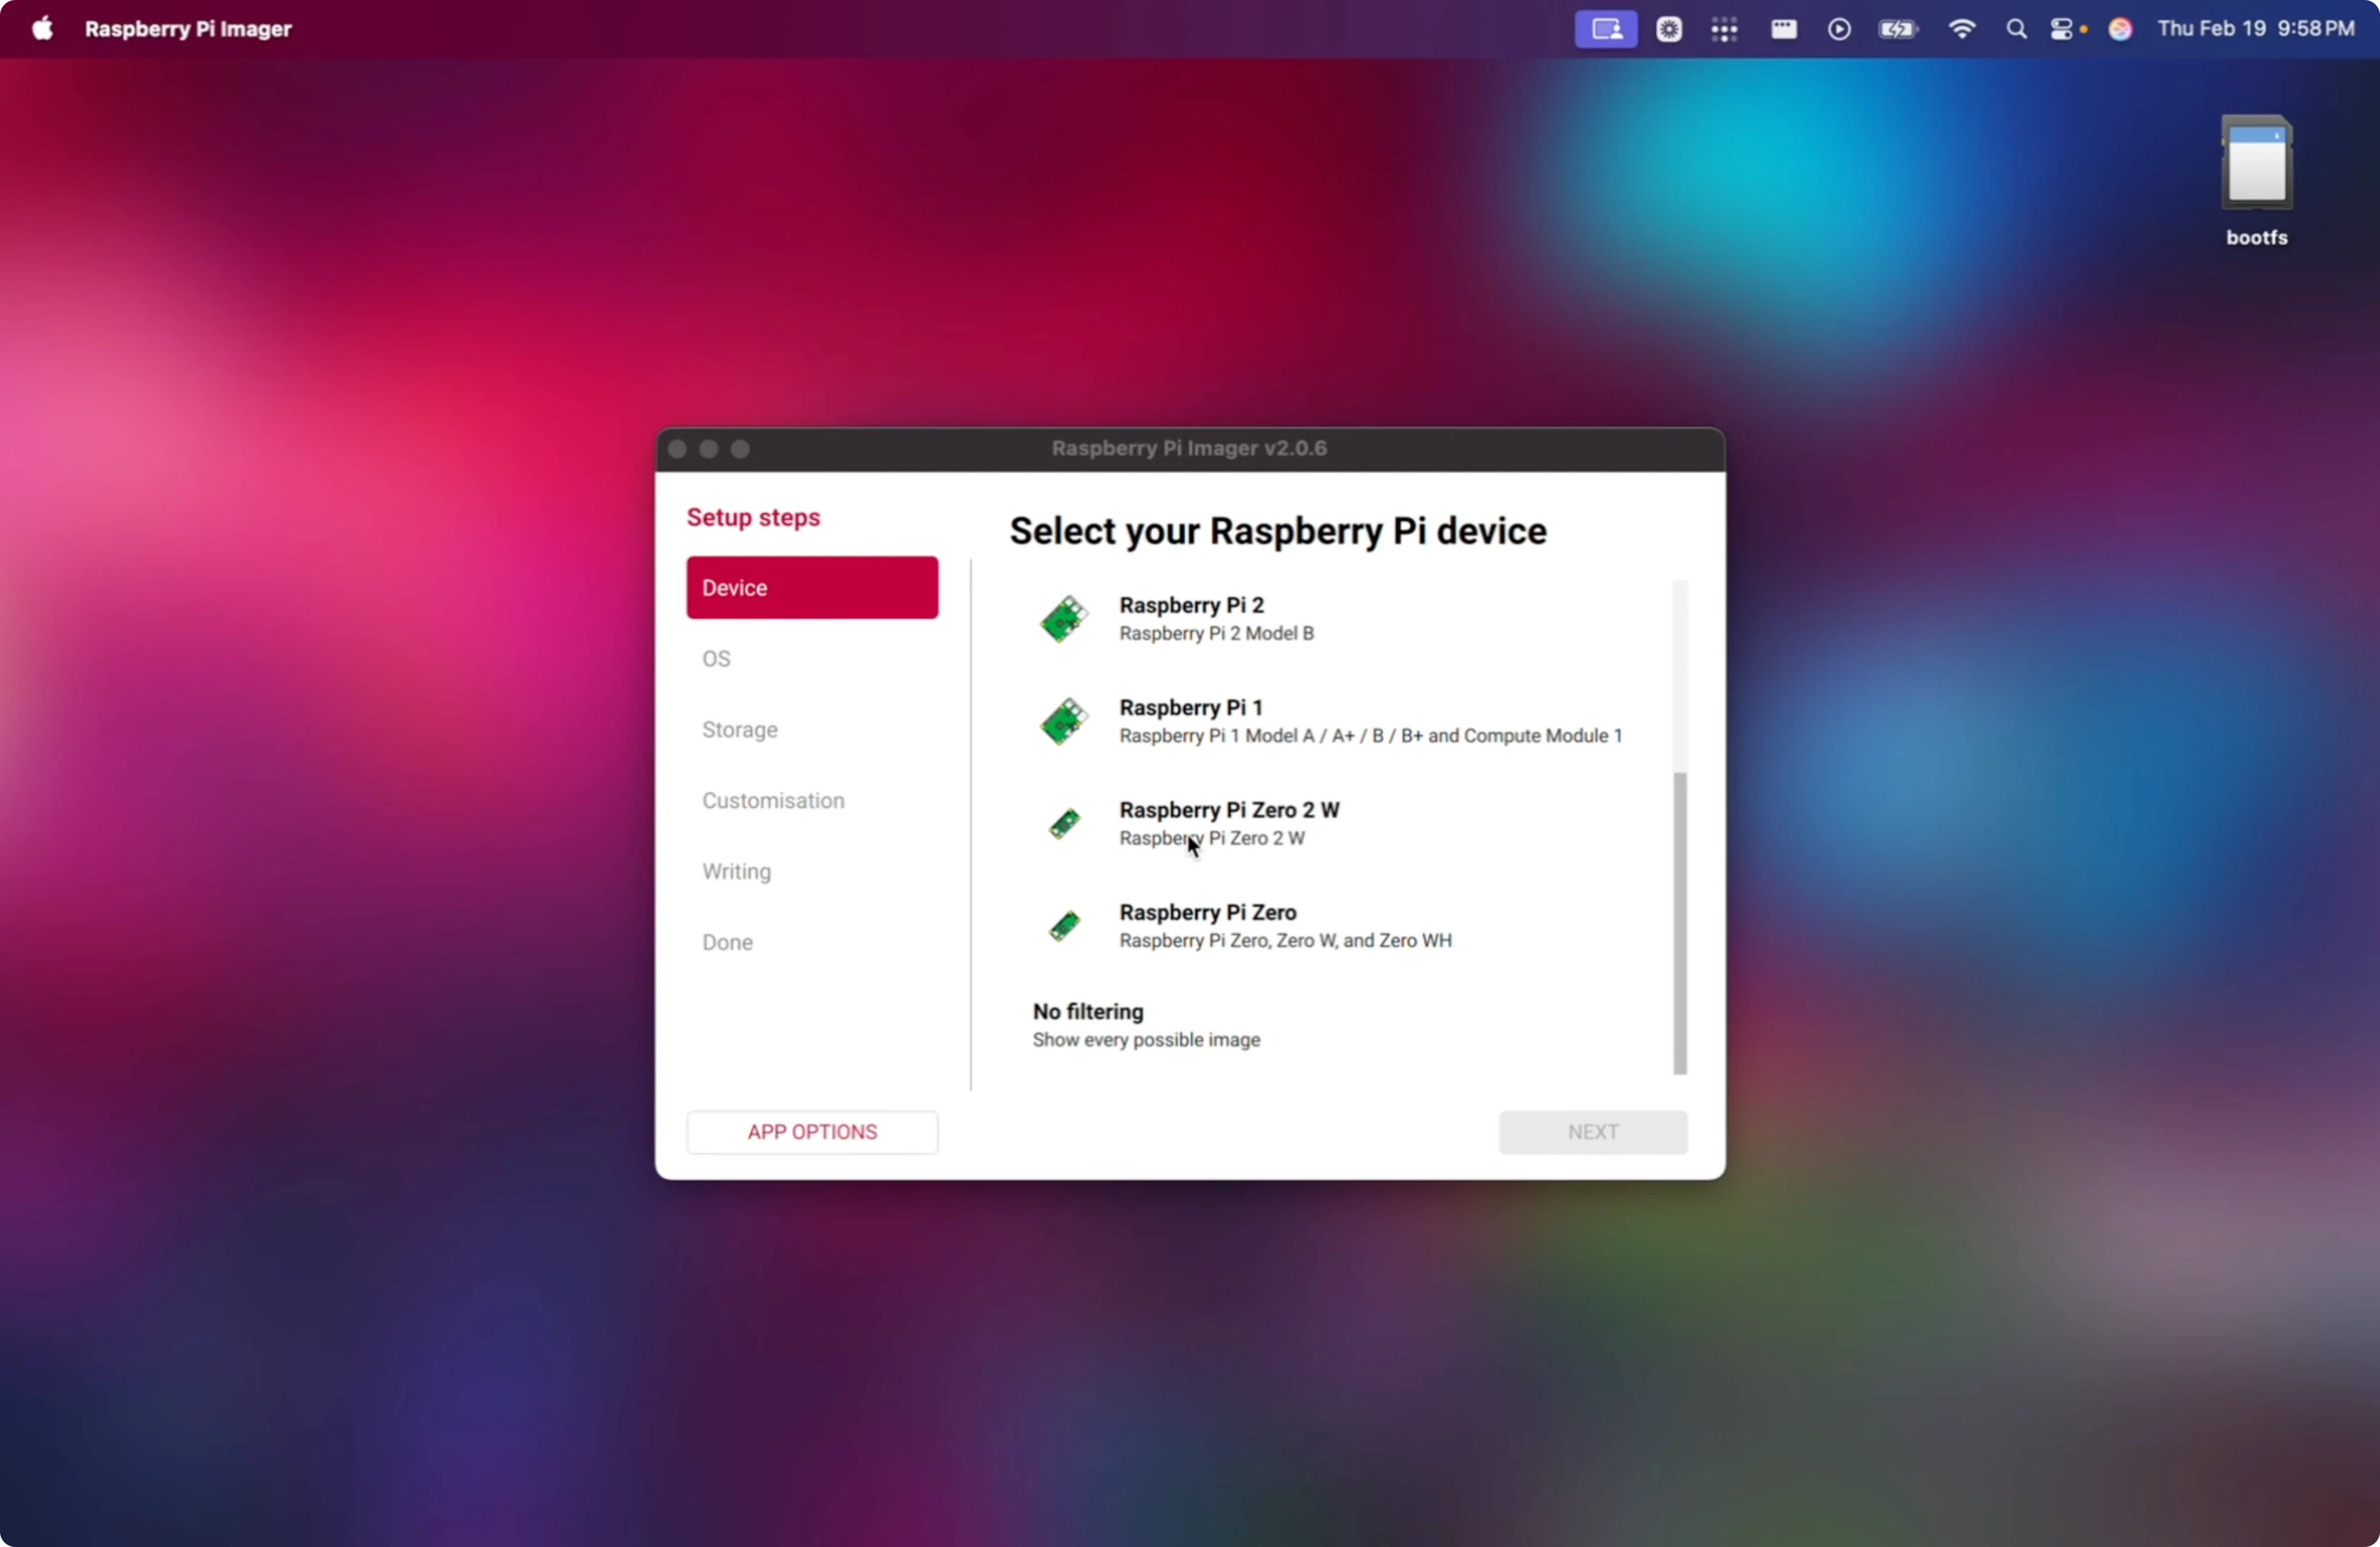
Imager settings
Open Raspberry Pi Imager.
Select Raspberry Pi Zero 2 W.
Choose Raspberry Pi OS 64-bit.
Set hostname to something like claw.
Set username to zero or your preferred user and set a strong password.
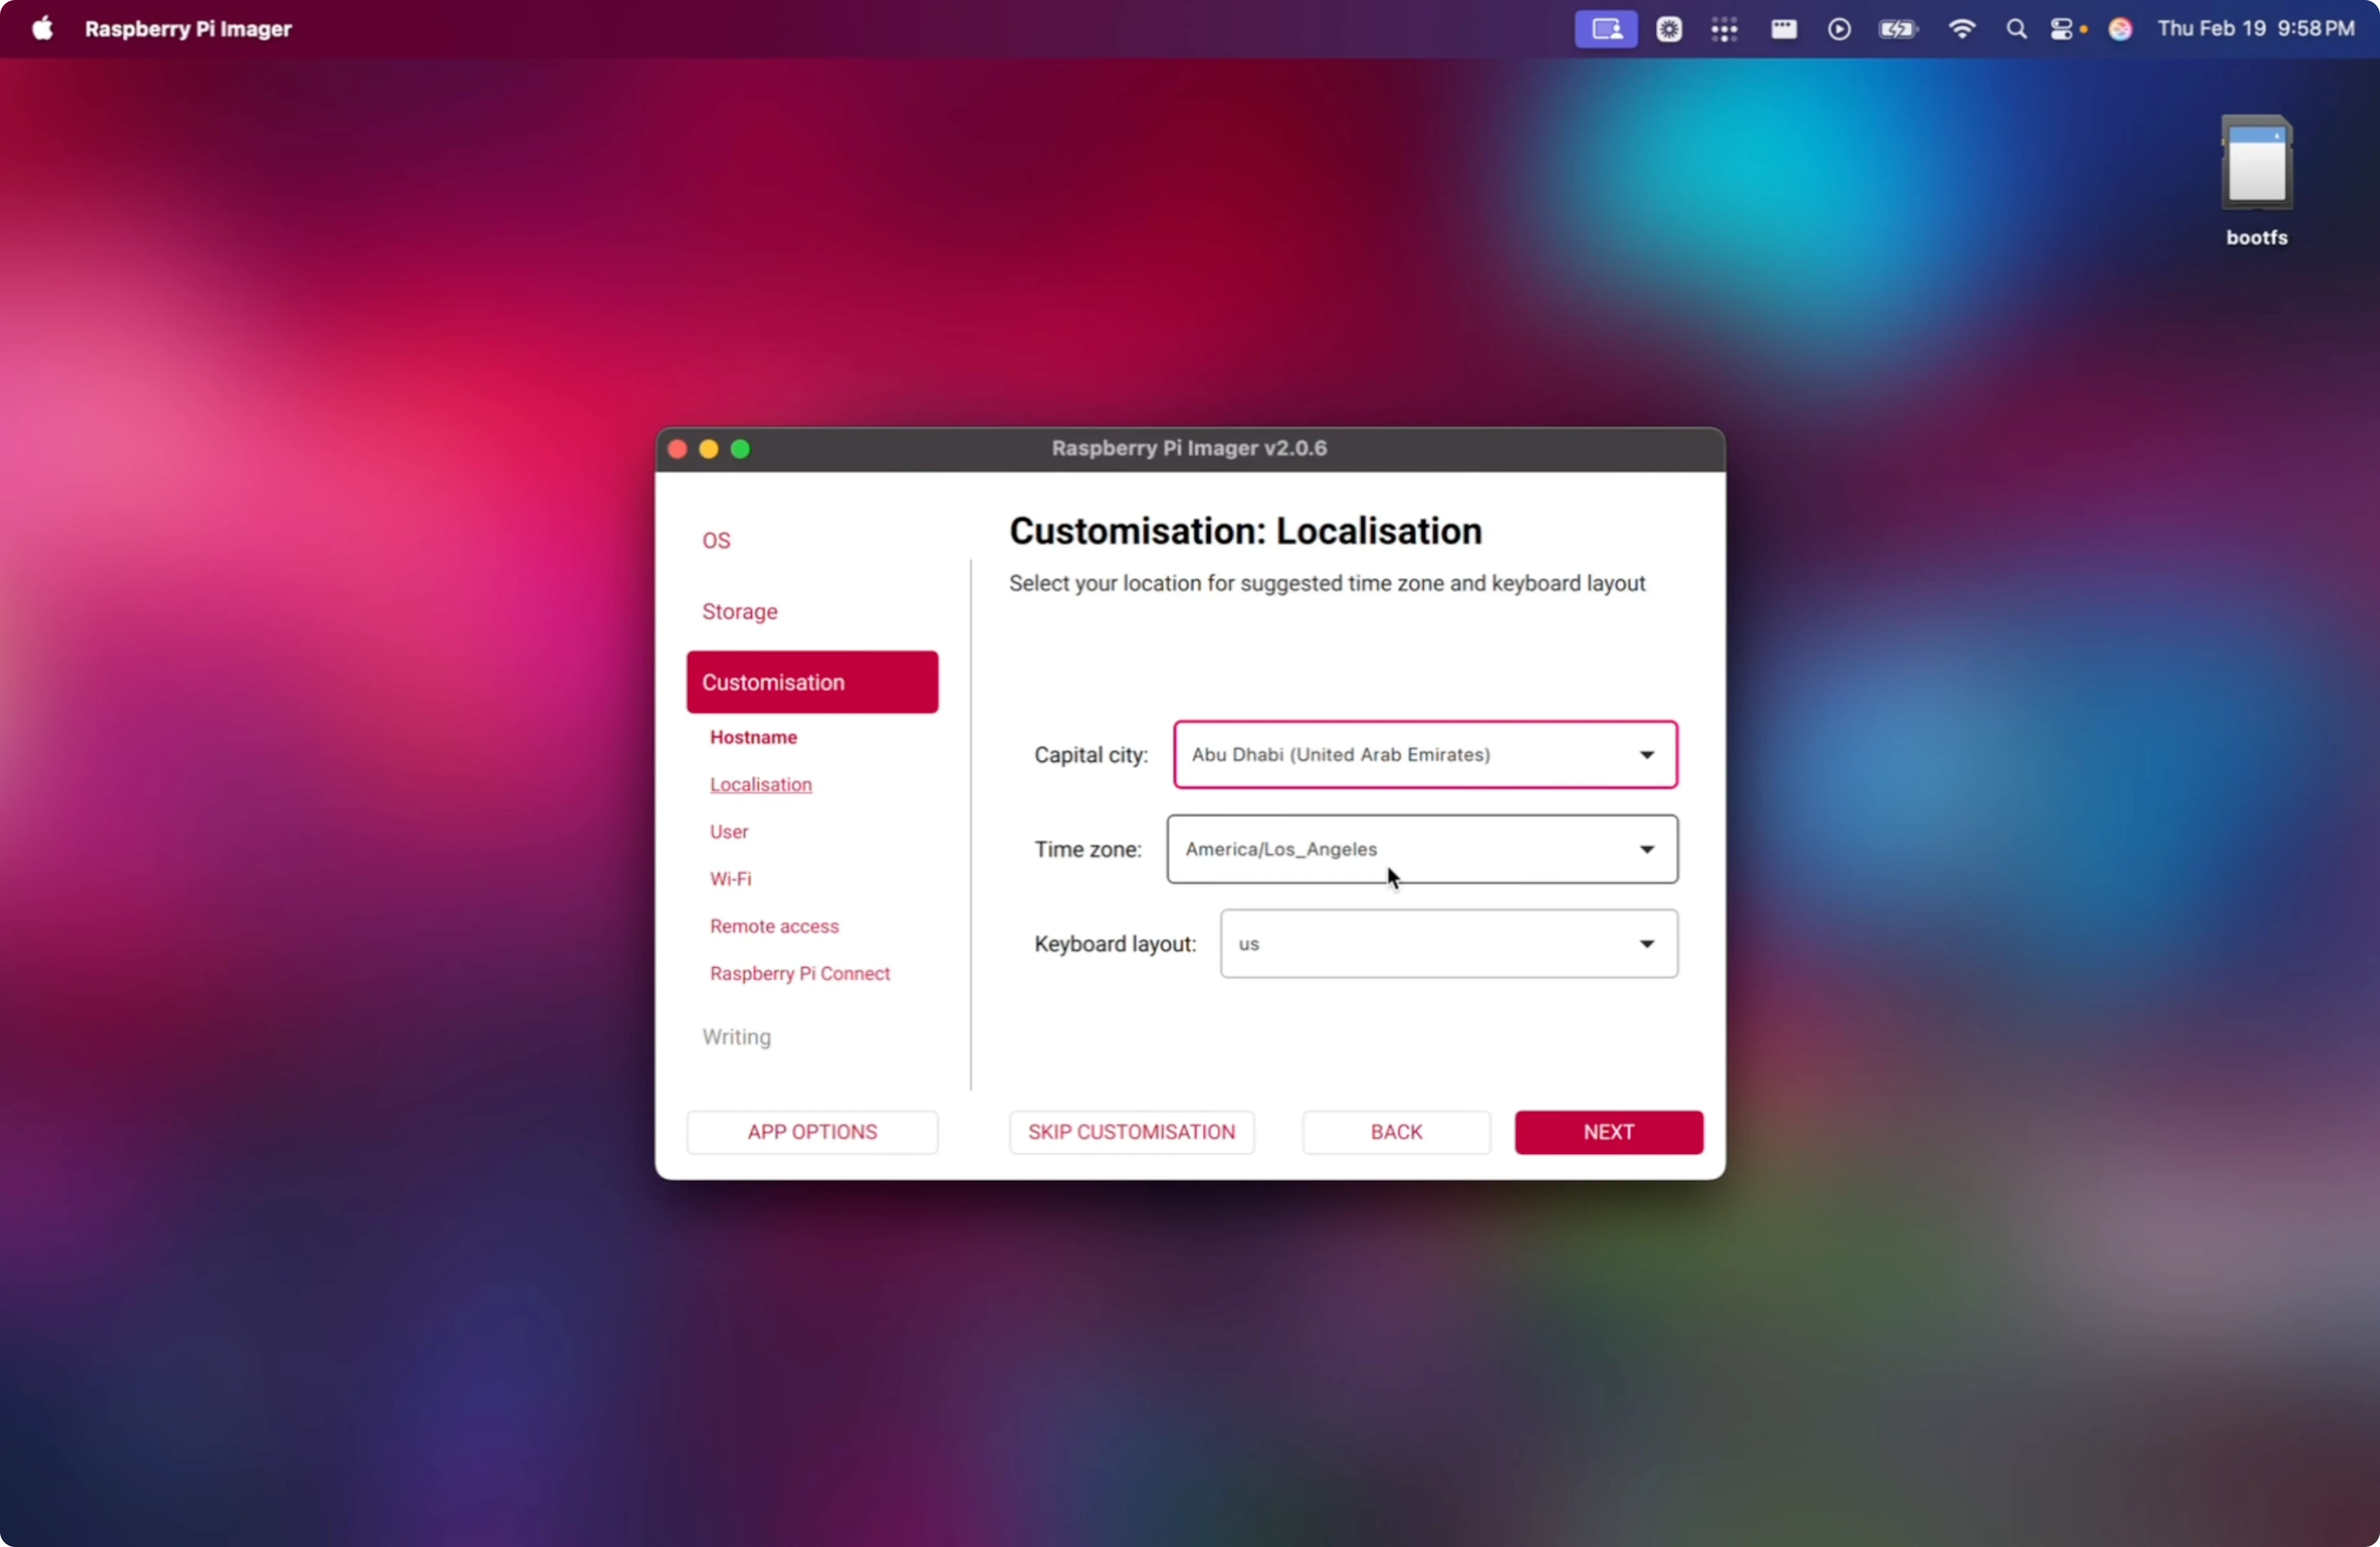
Configure Wi-Fi with your SSID and password if you need wireless later, though wired is recommended for setup.
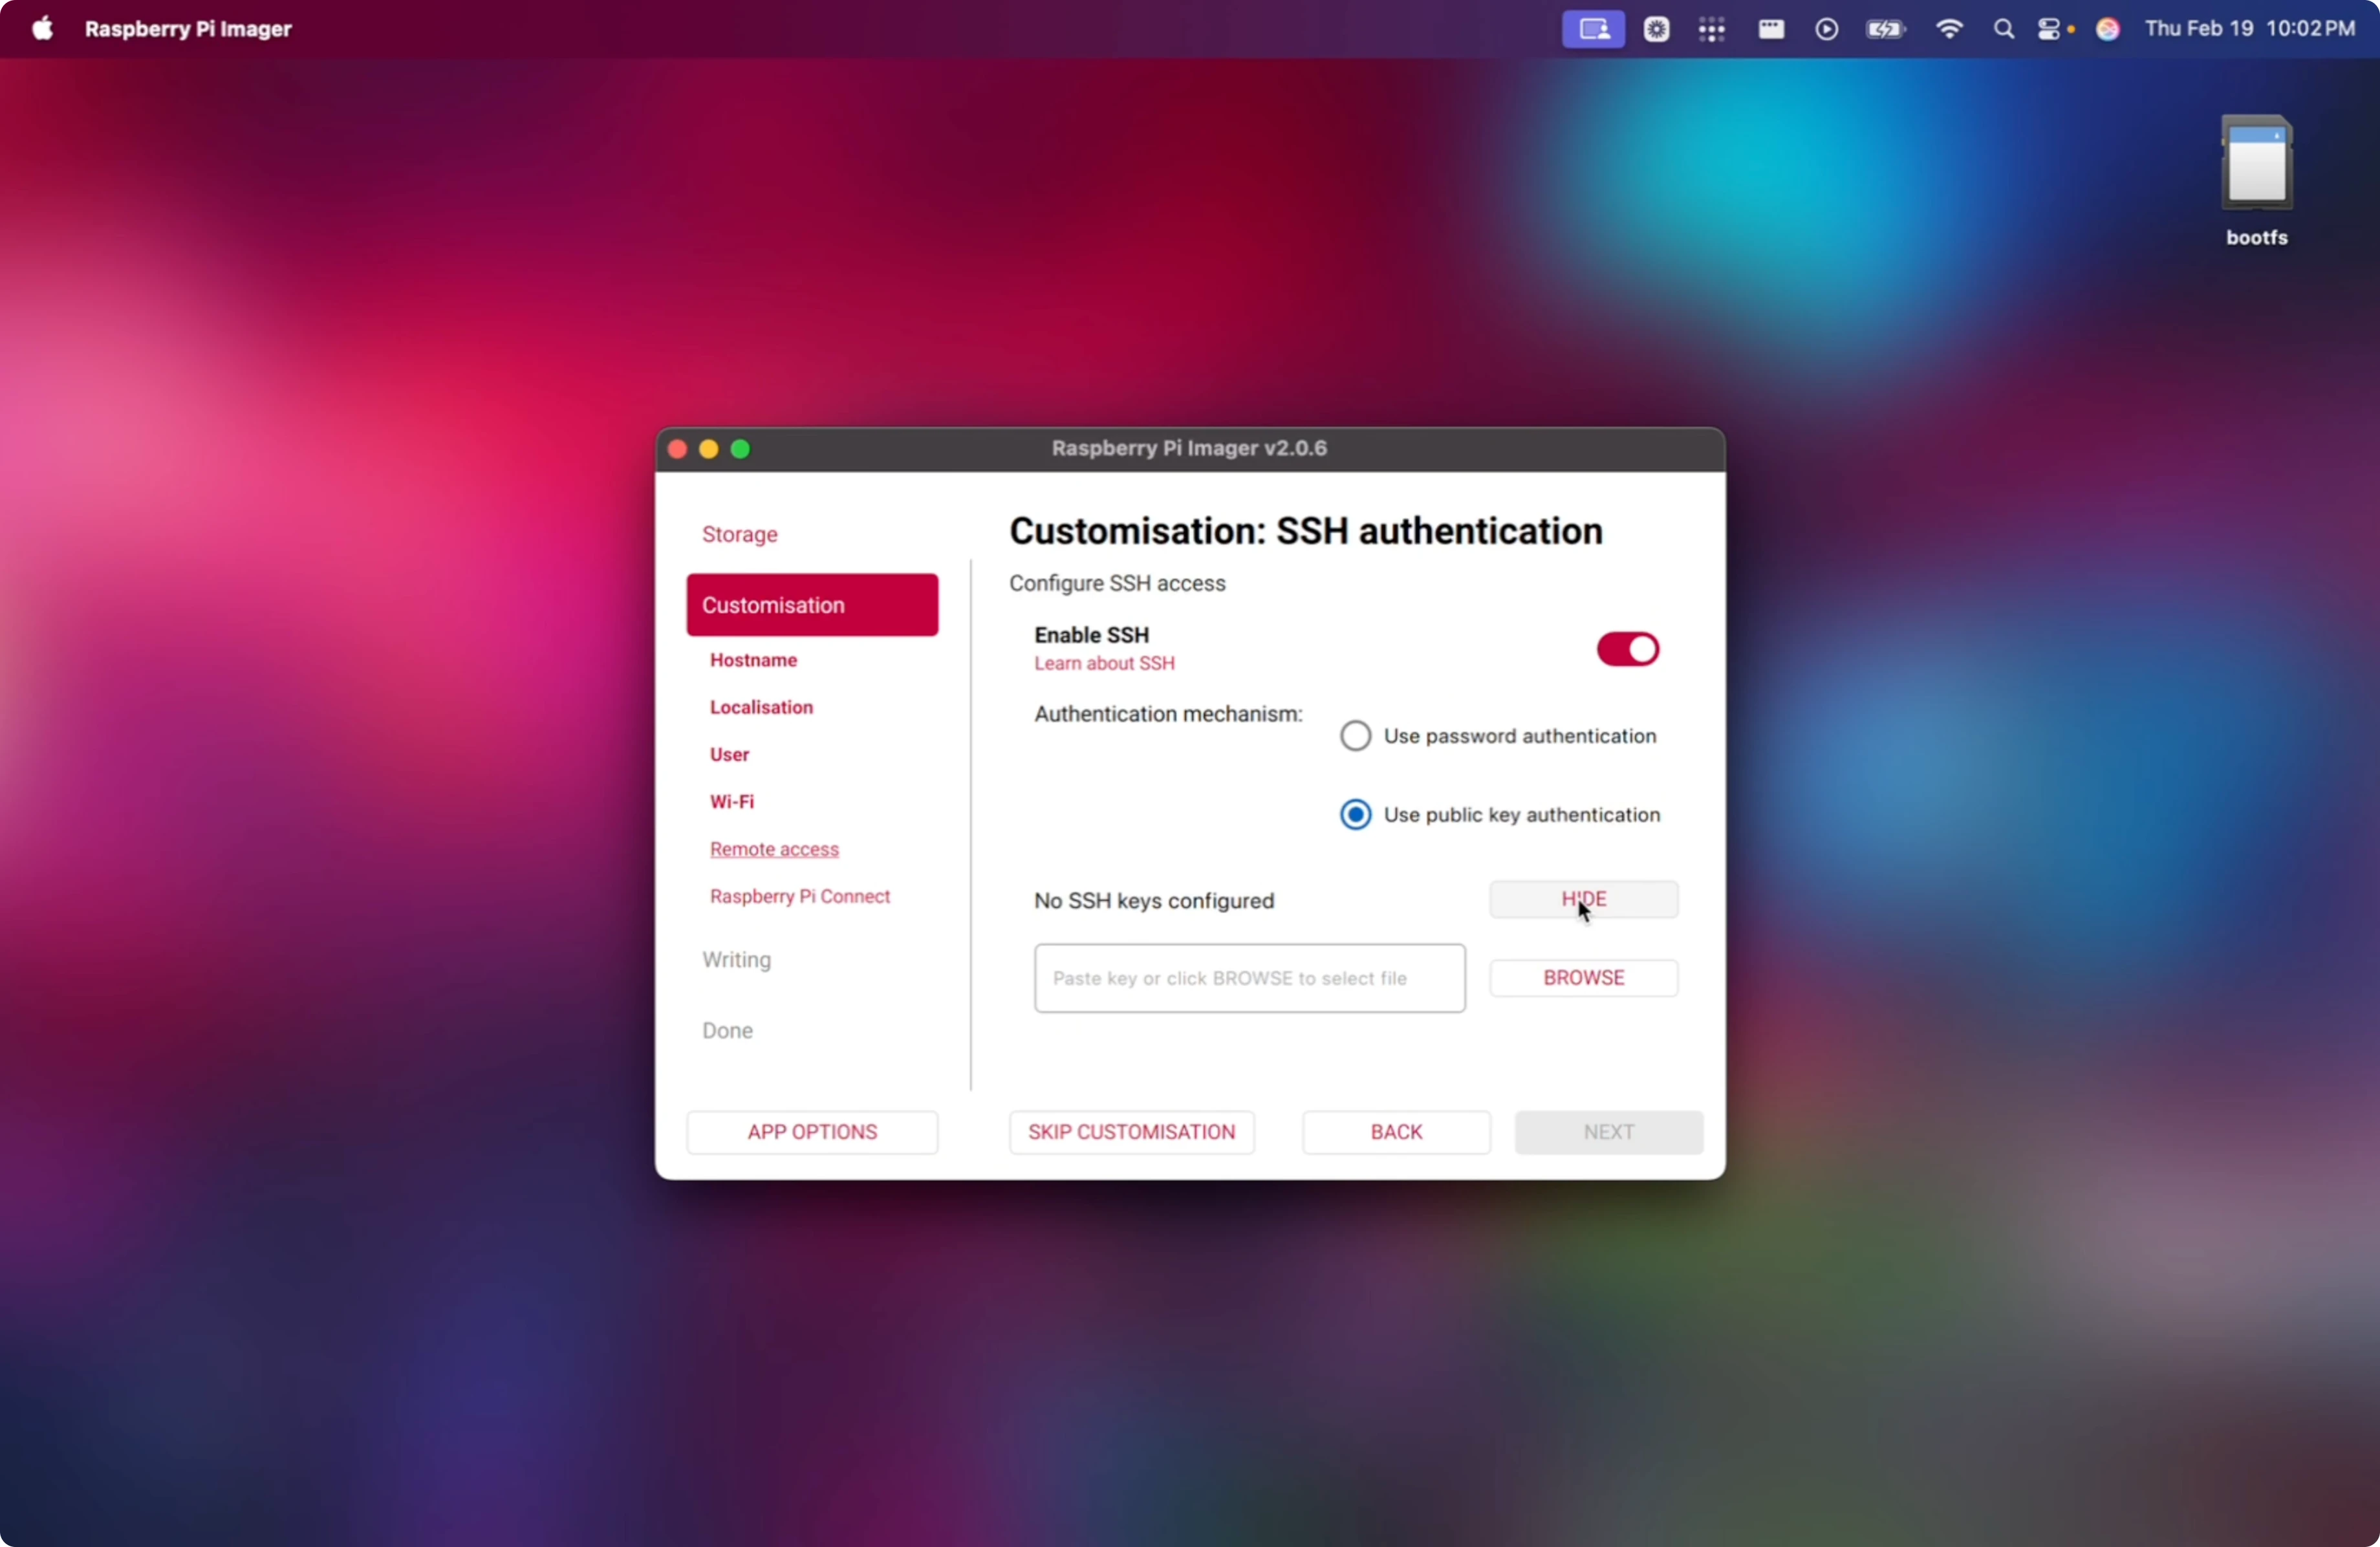
Enable SSH with public key authentication.
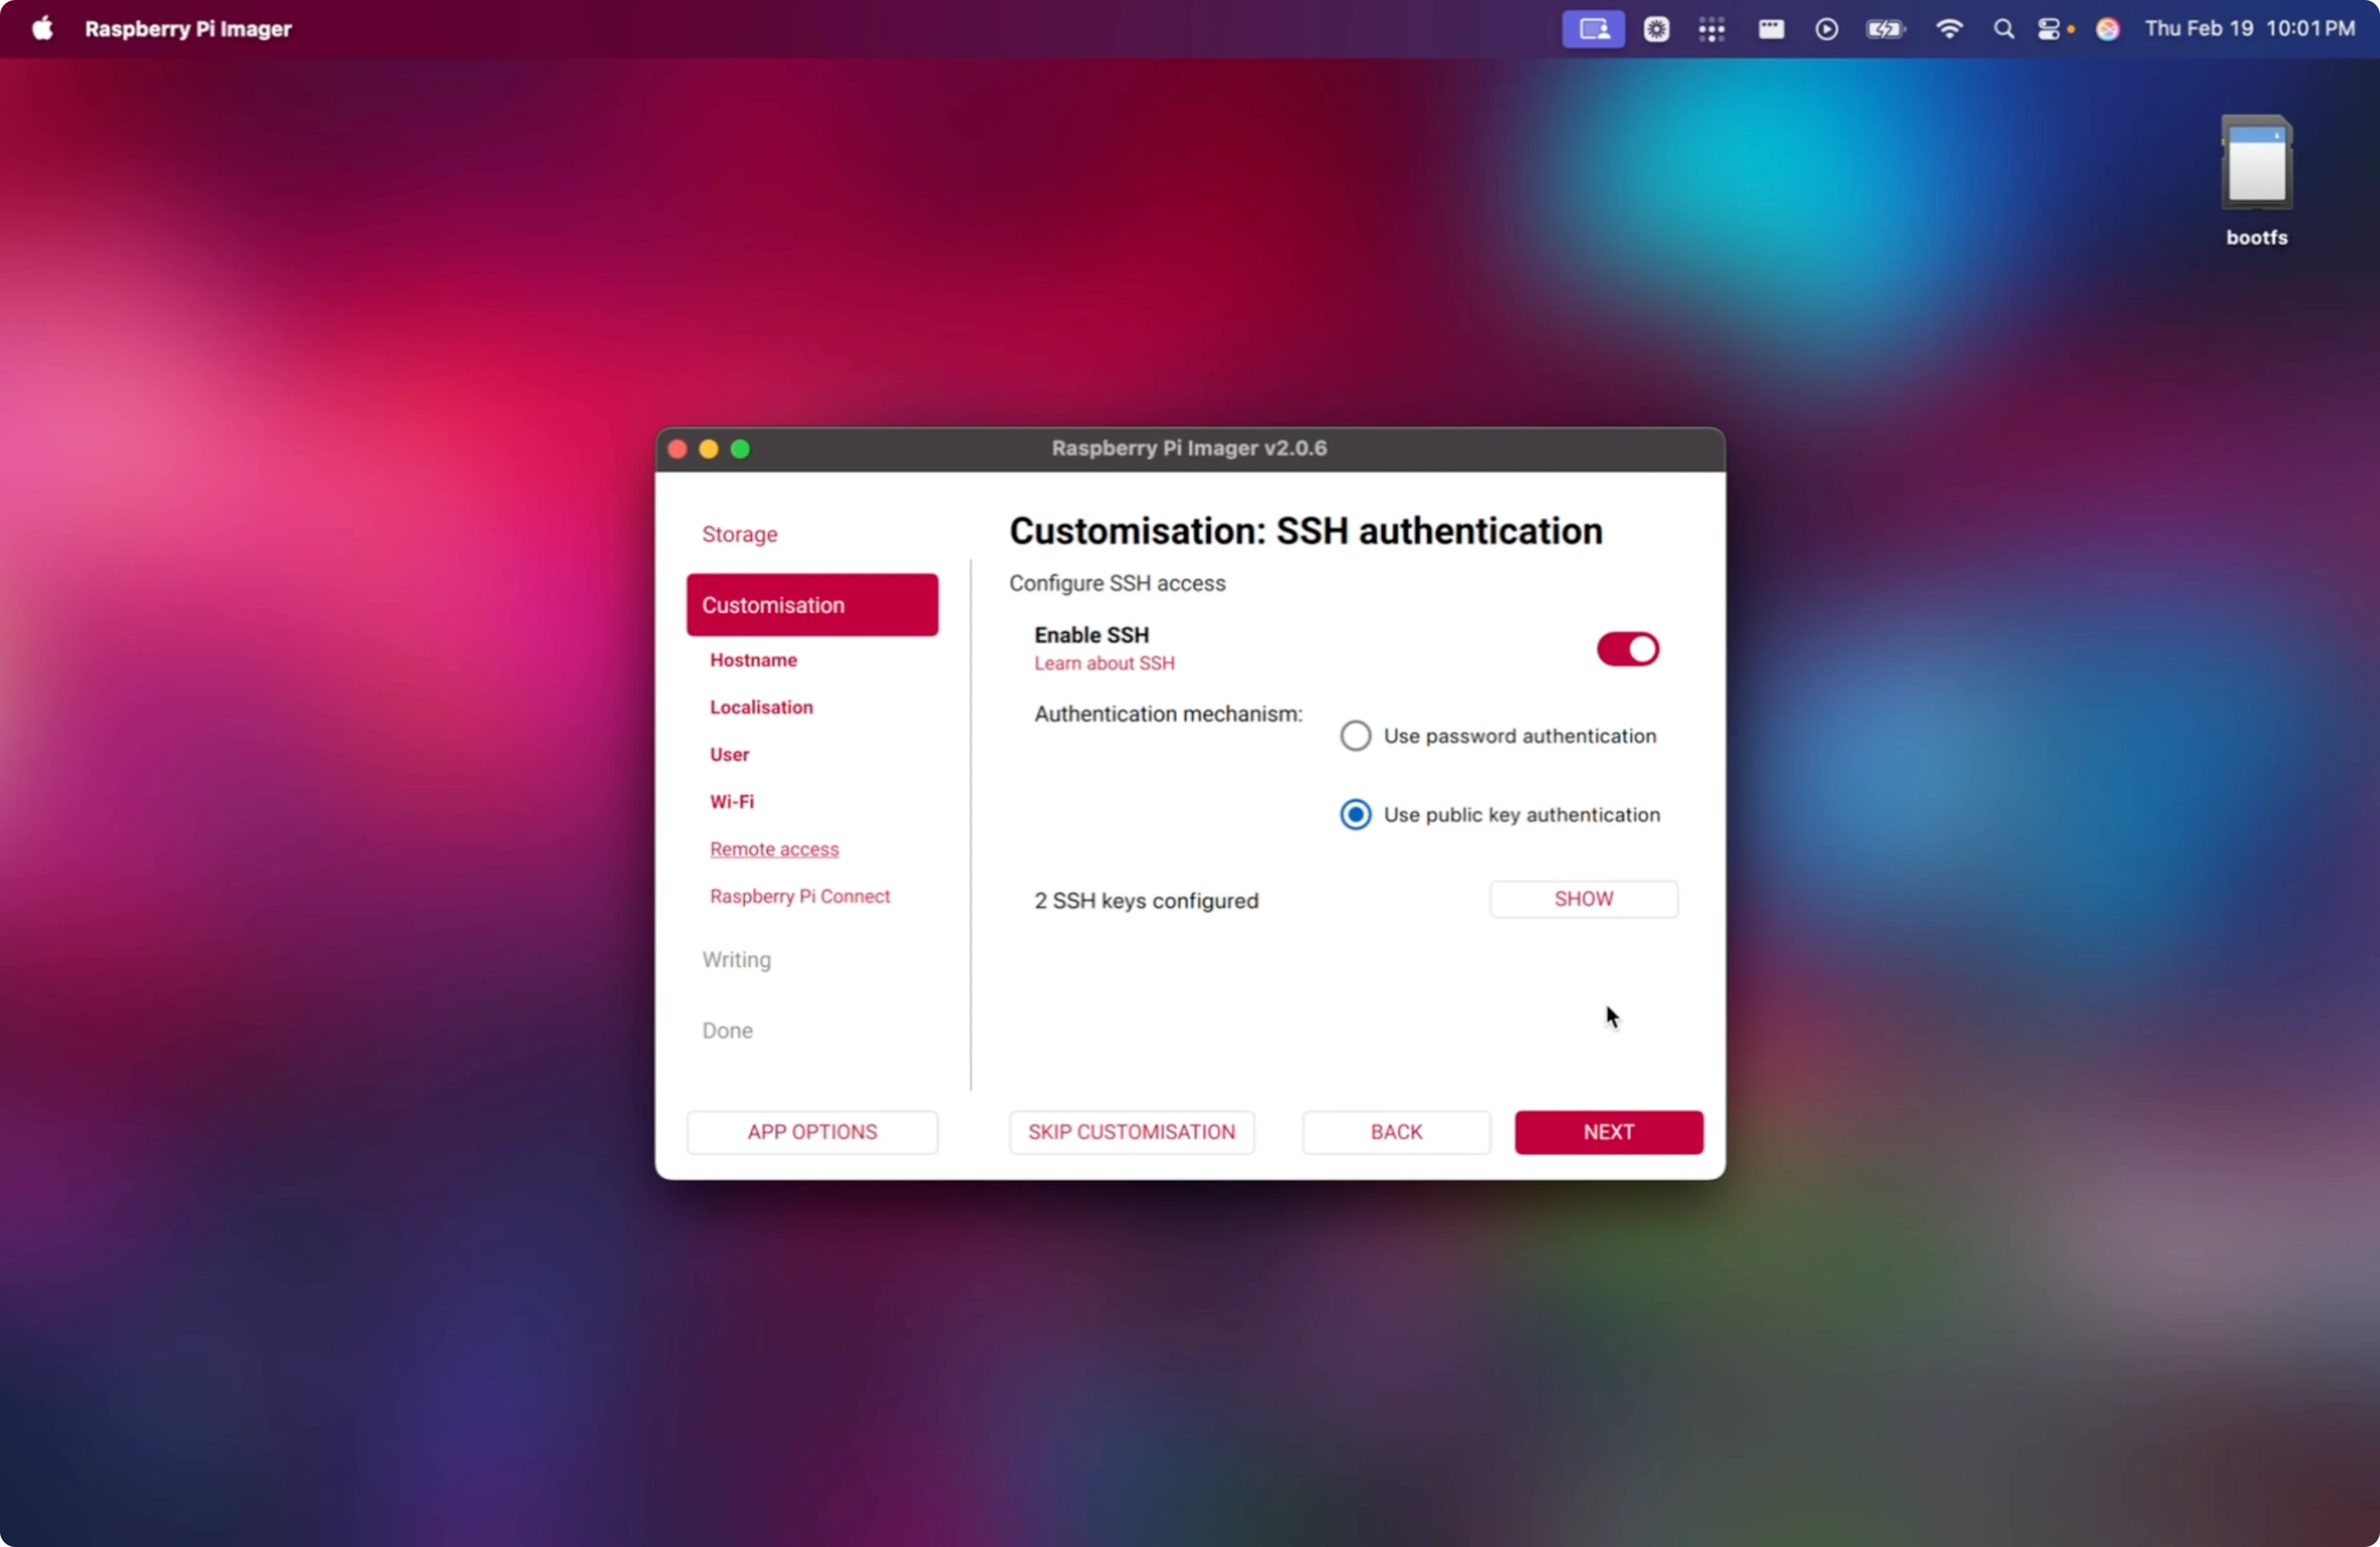
SSH keys
Generate a modern ed25519 SSH key on your main machine, then paste the public key into Imager when prompted.
Check for an existing key:
ls -l ~/.ssh/id_ed25519.pub
Generate a new key if needed:
ssh-keygen -t ed25519 -C "zeroclaw-to-mac"
Copy the public key:
cat ~/.ssh/id_ed25519.pub
Paste that public key into the SSH section in Imager and save.

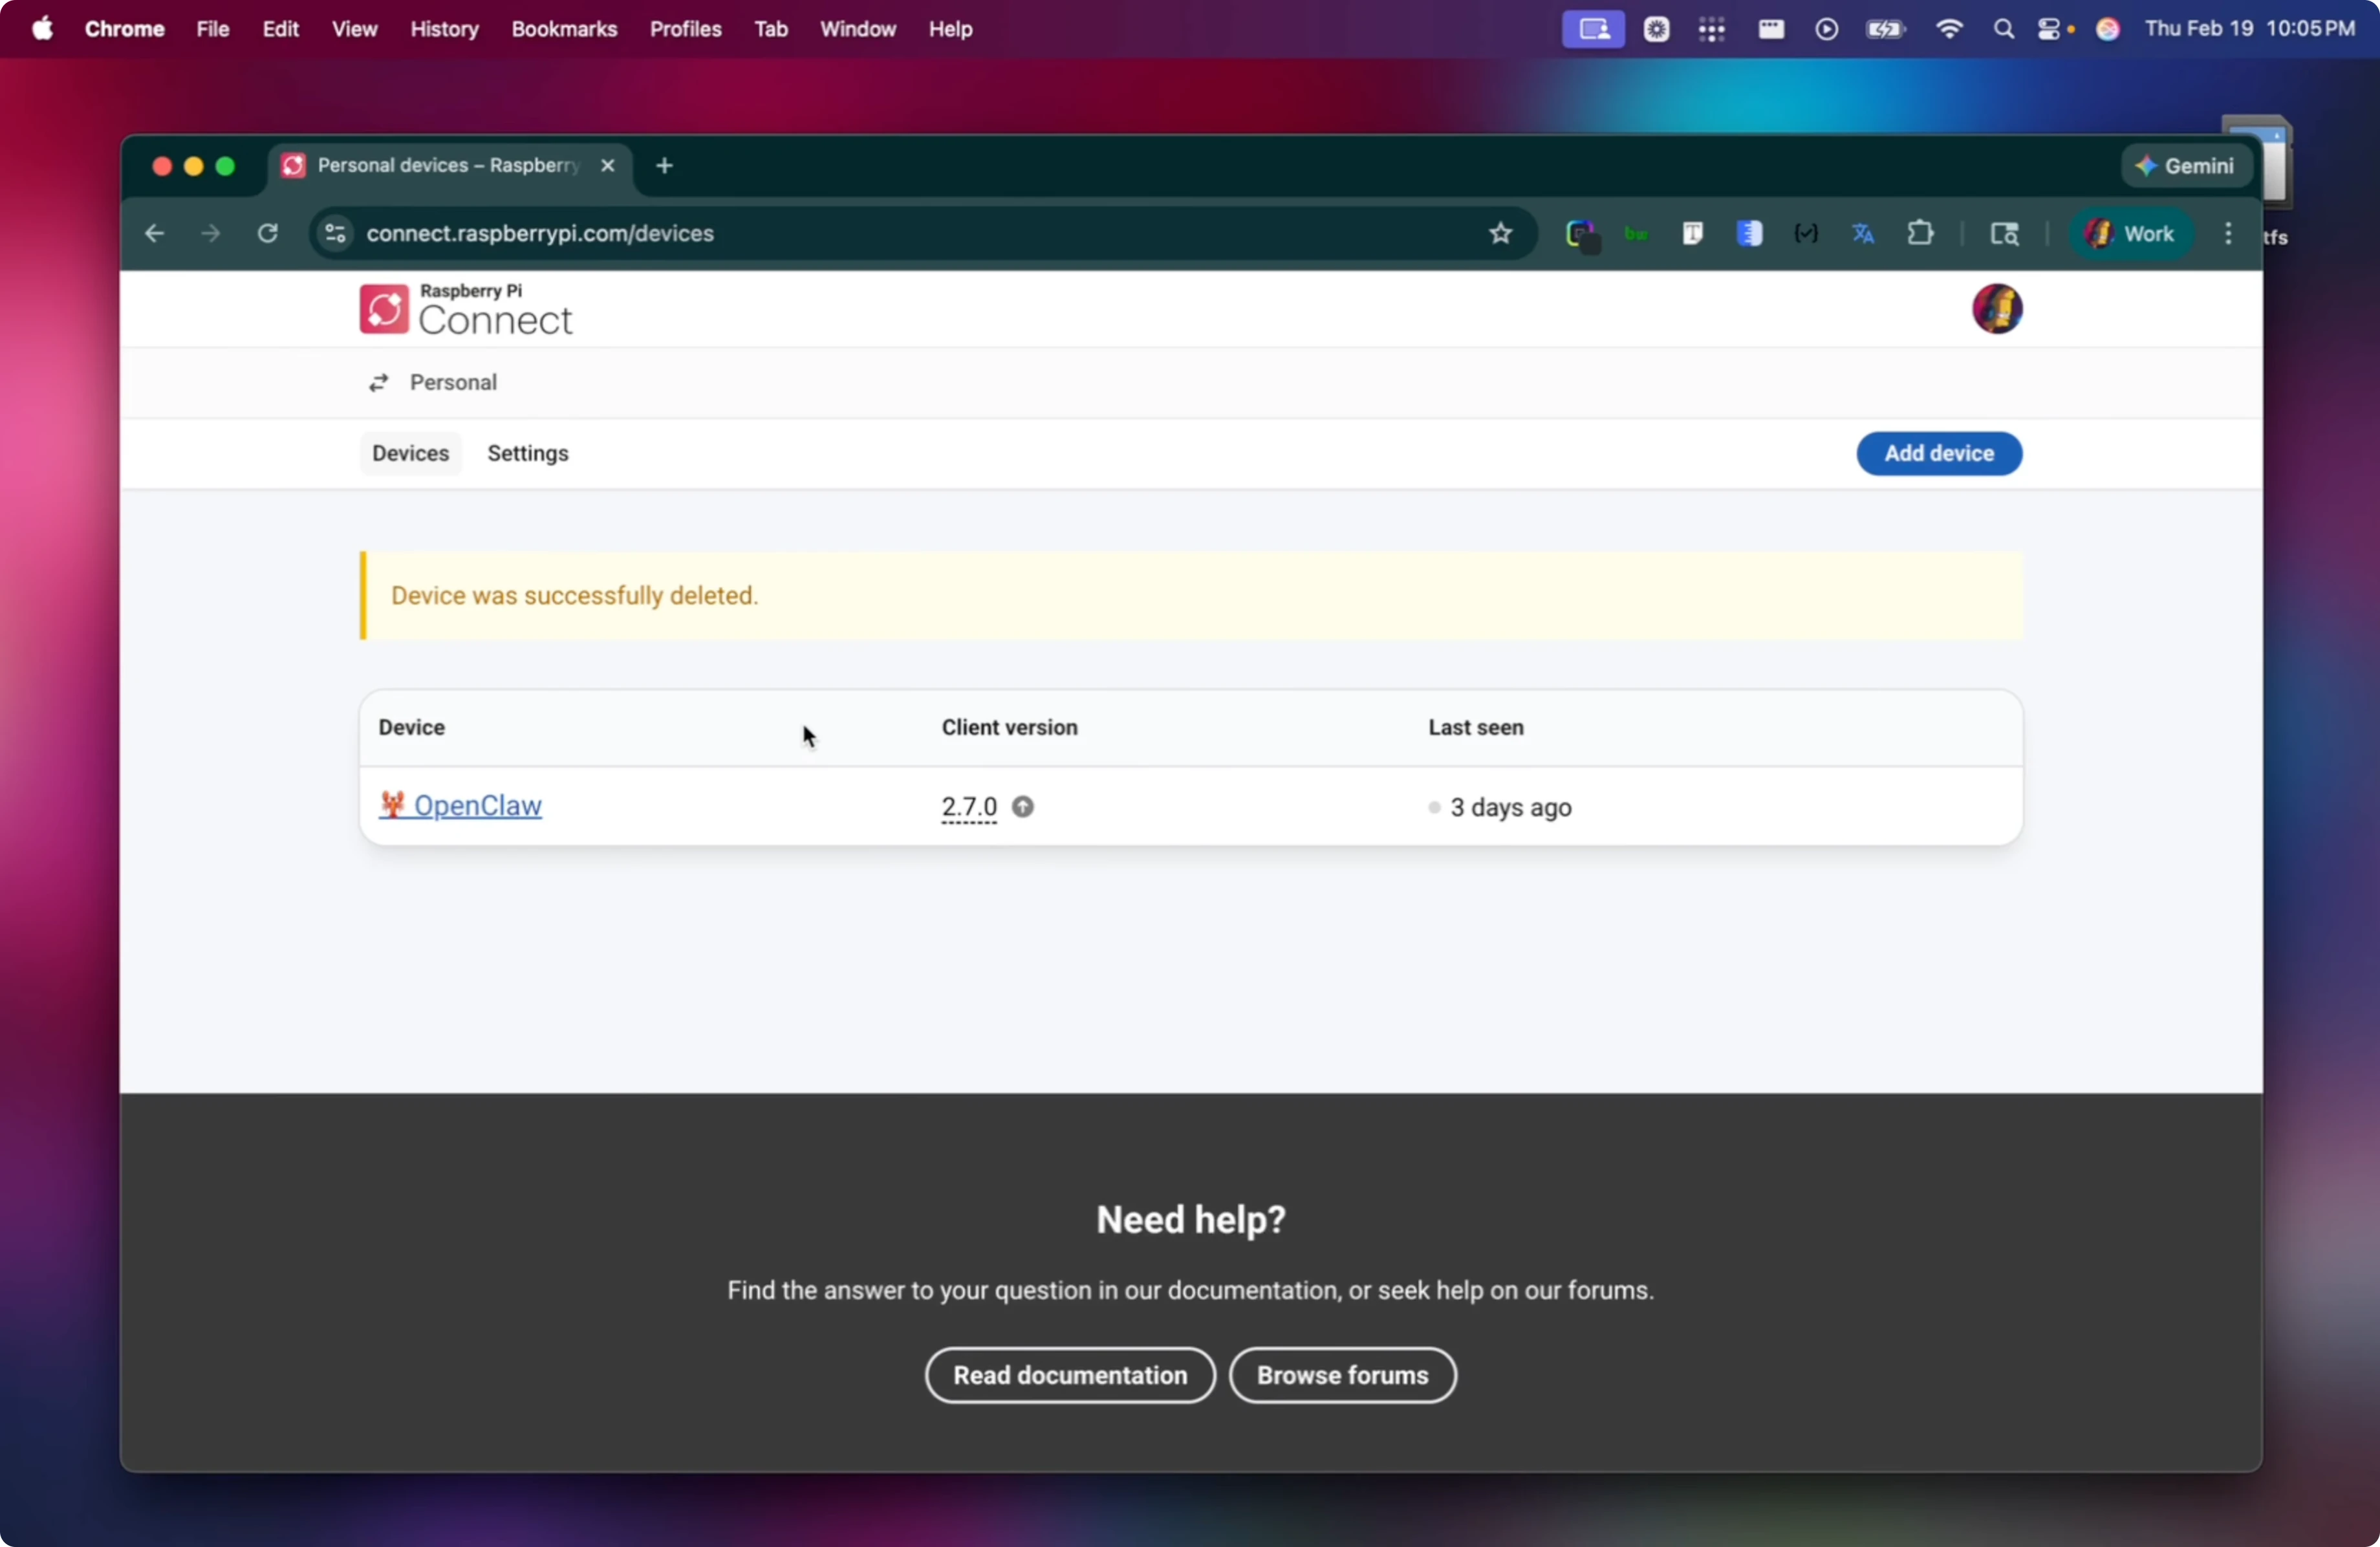
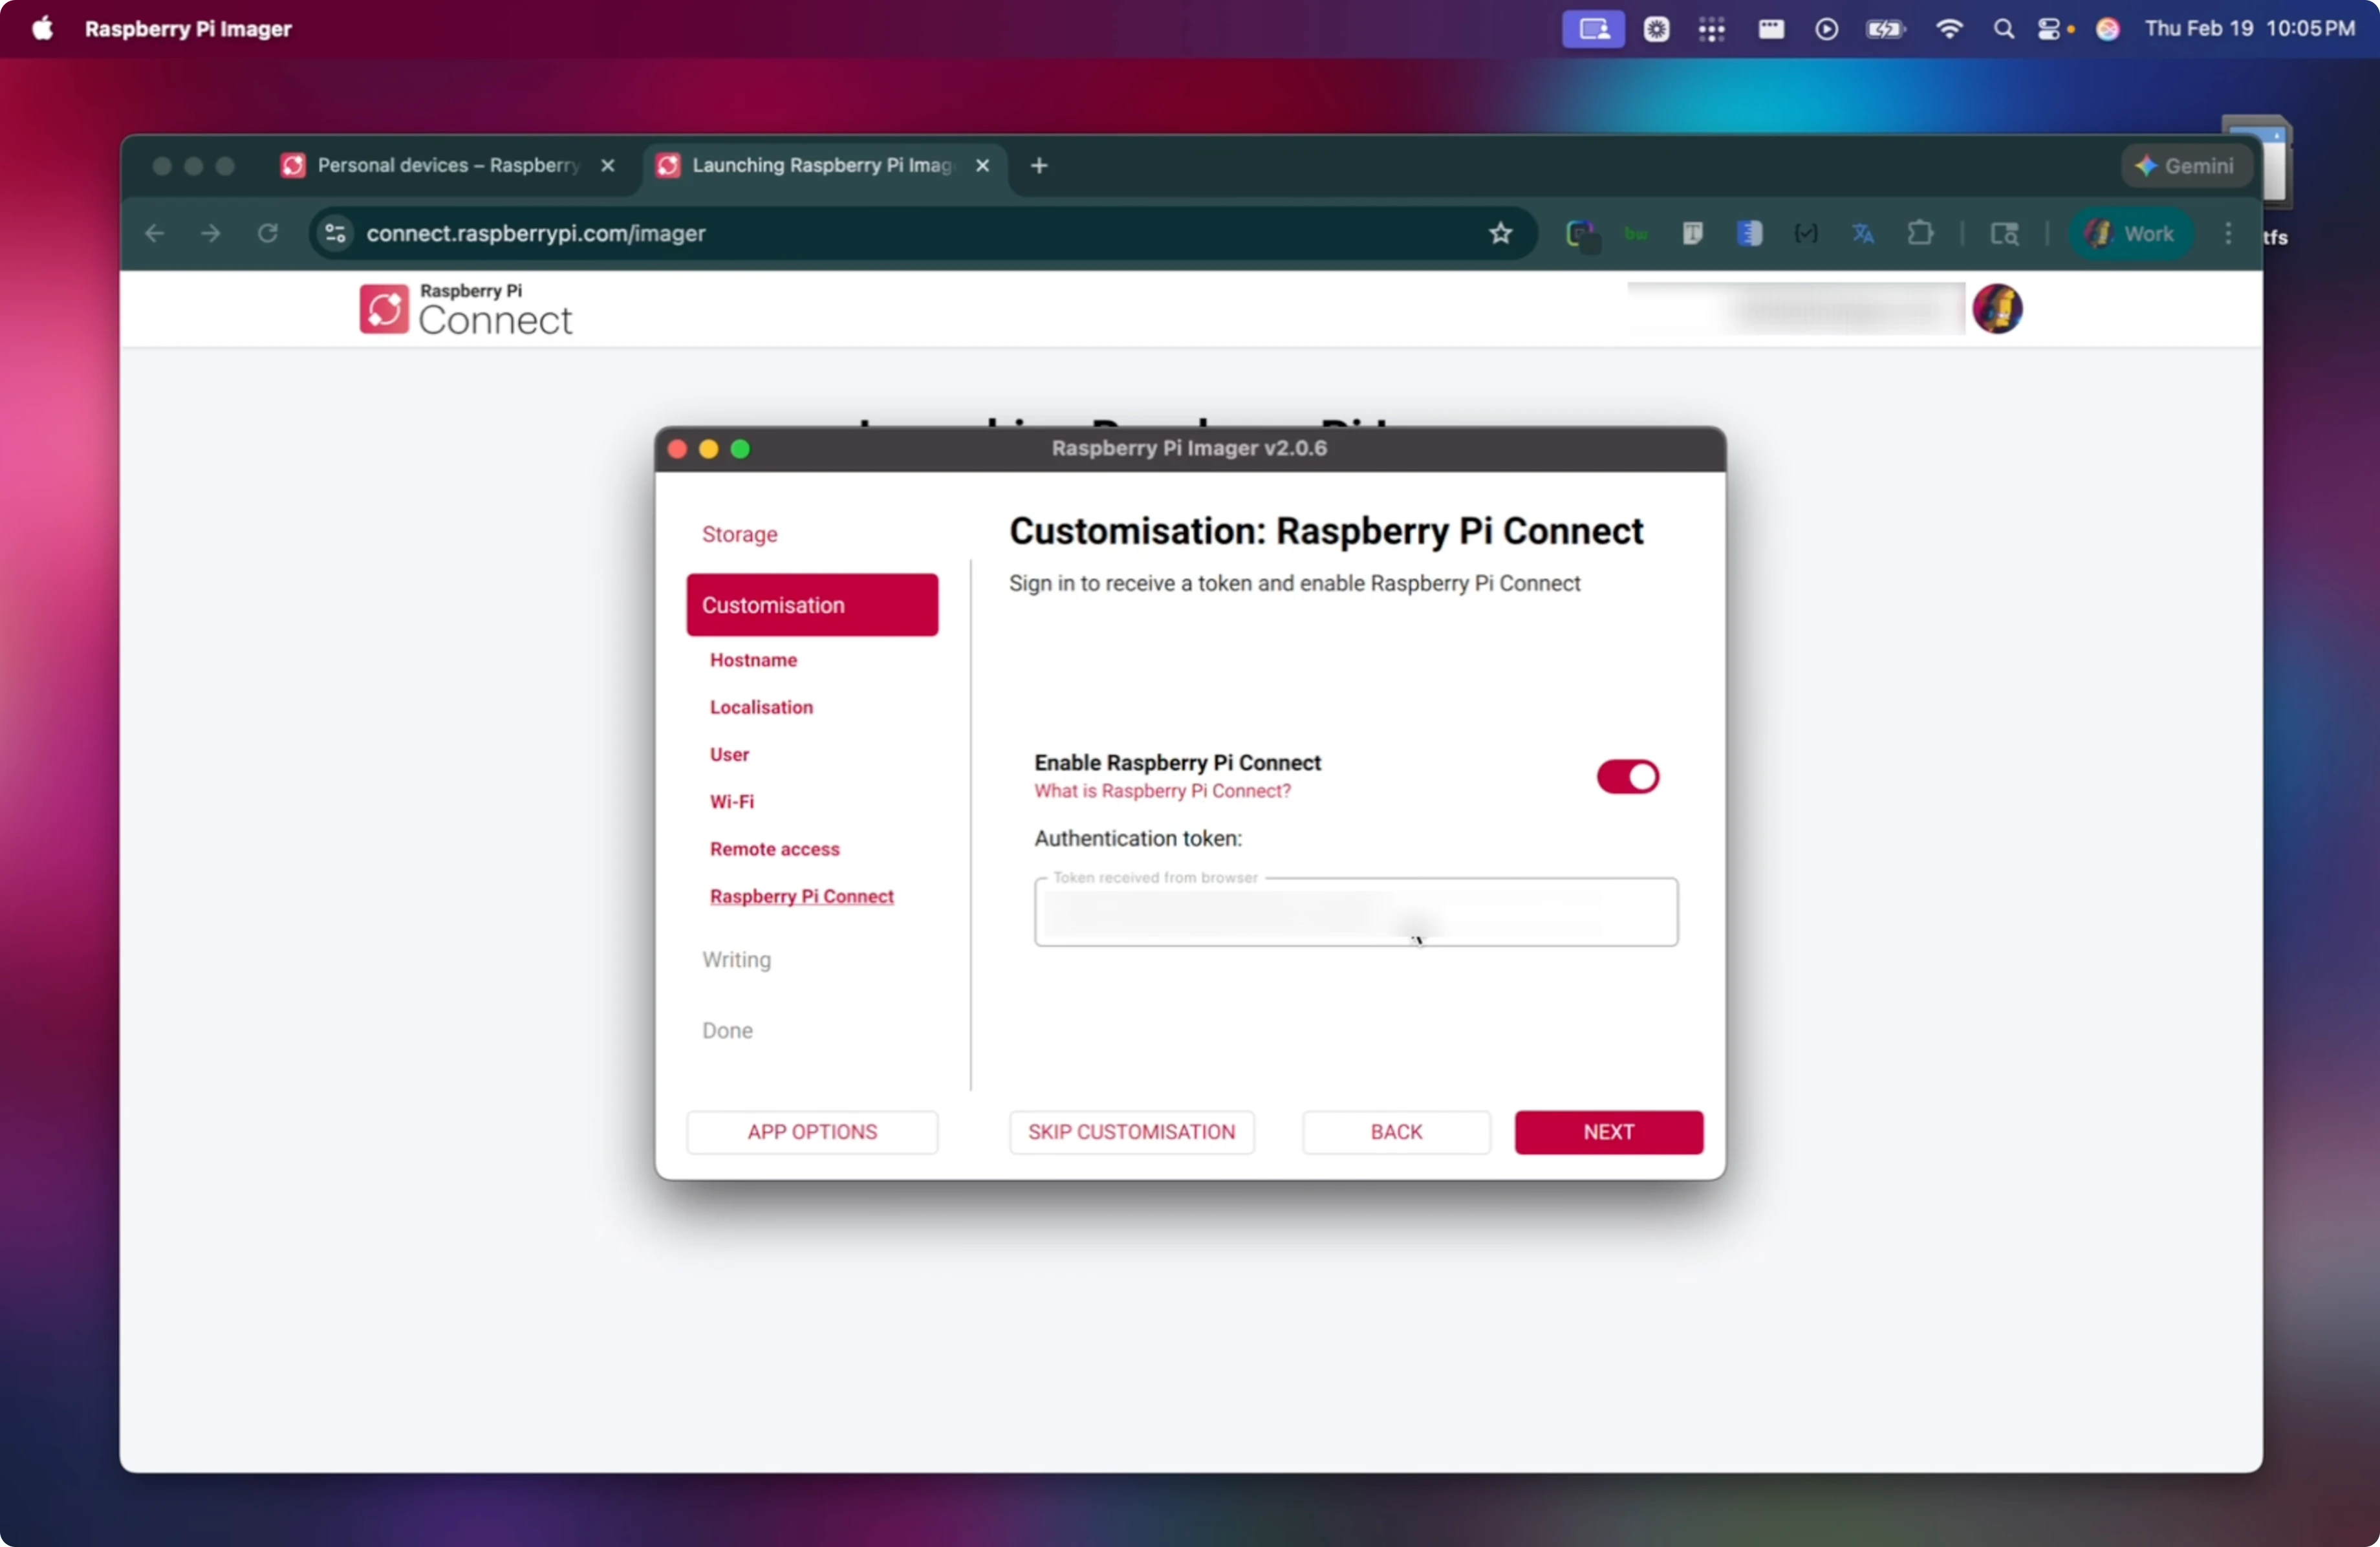
Raspberry Pi Connect
Enable Raspberry Pi Connect in Imager to save time later.
Create or fetch the auth token from your Raspberry Pi account when prompted in Imager.
Write the image to the SD card and wait for it to complete, then safely eject.
# Run ZeroClaw on Raspberry Pi Zero? First boot and SSH
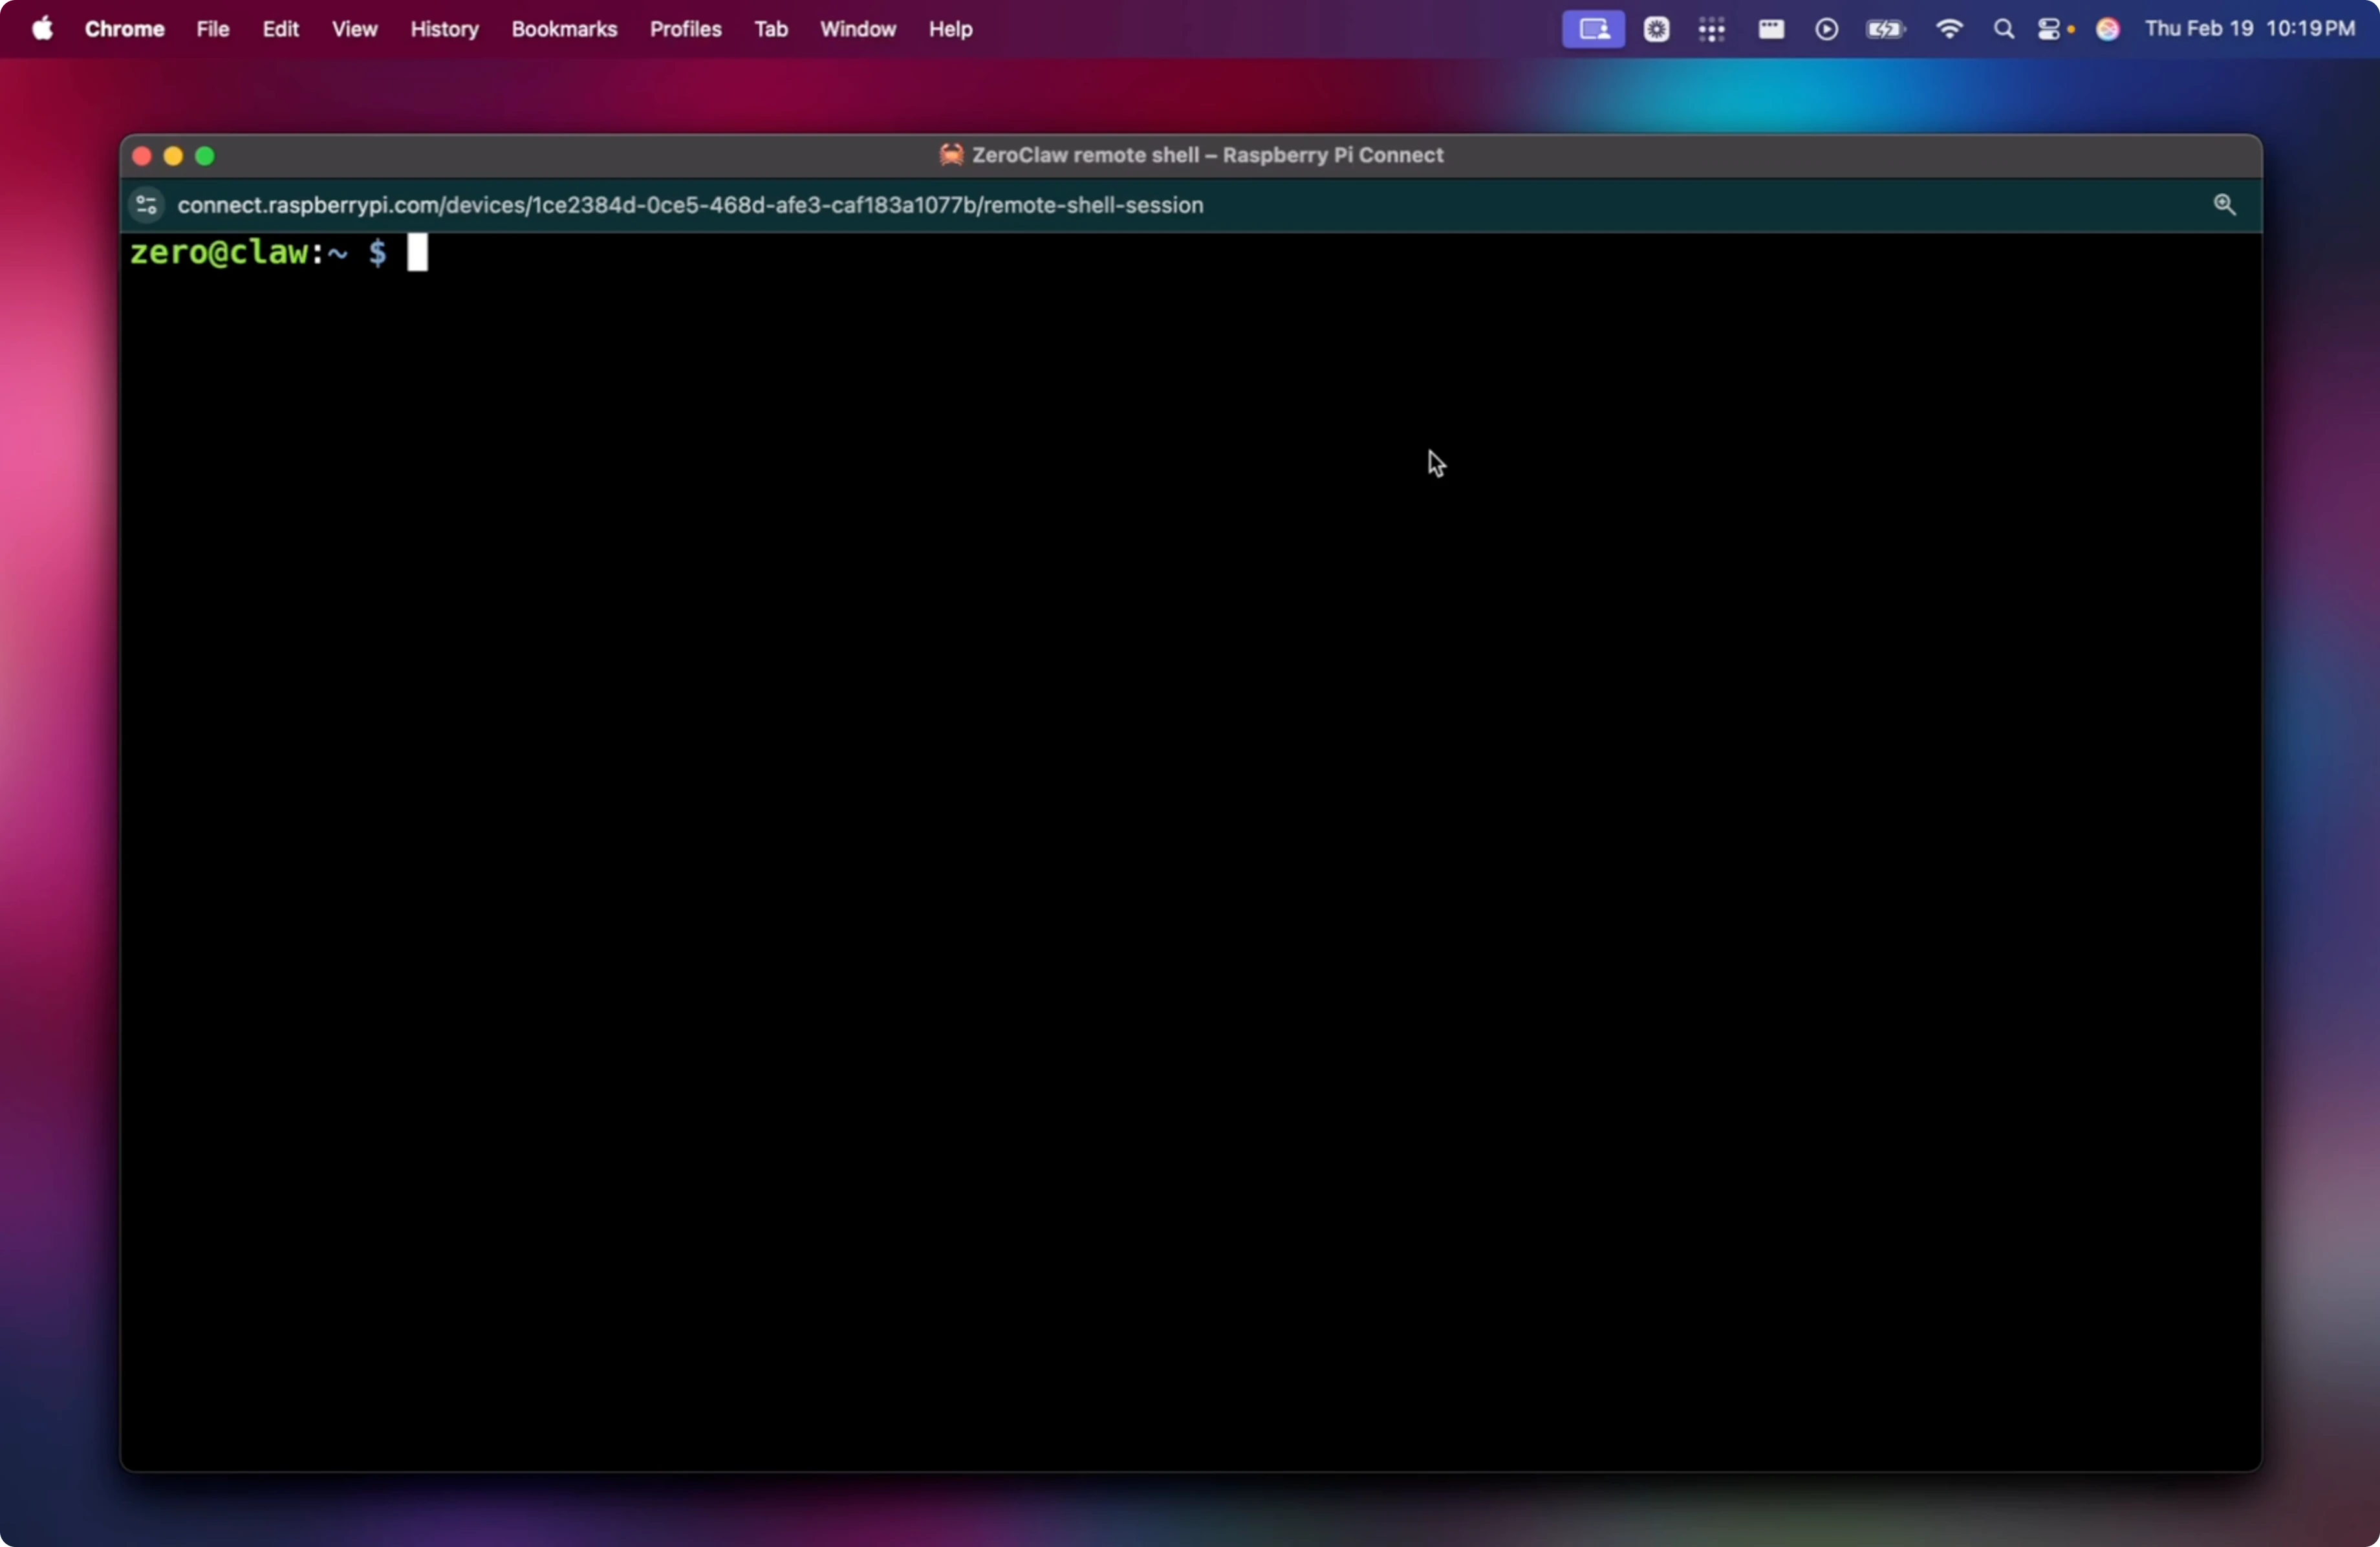
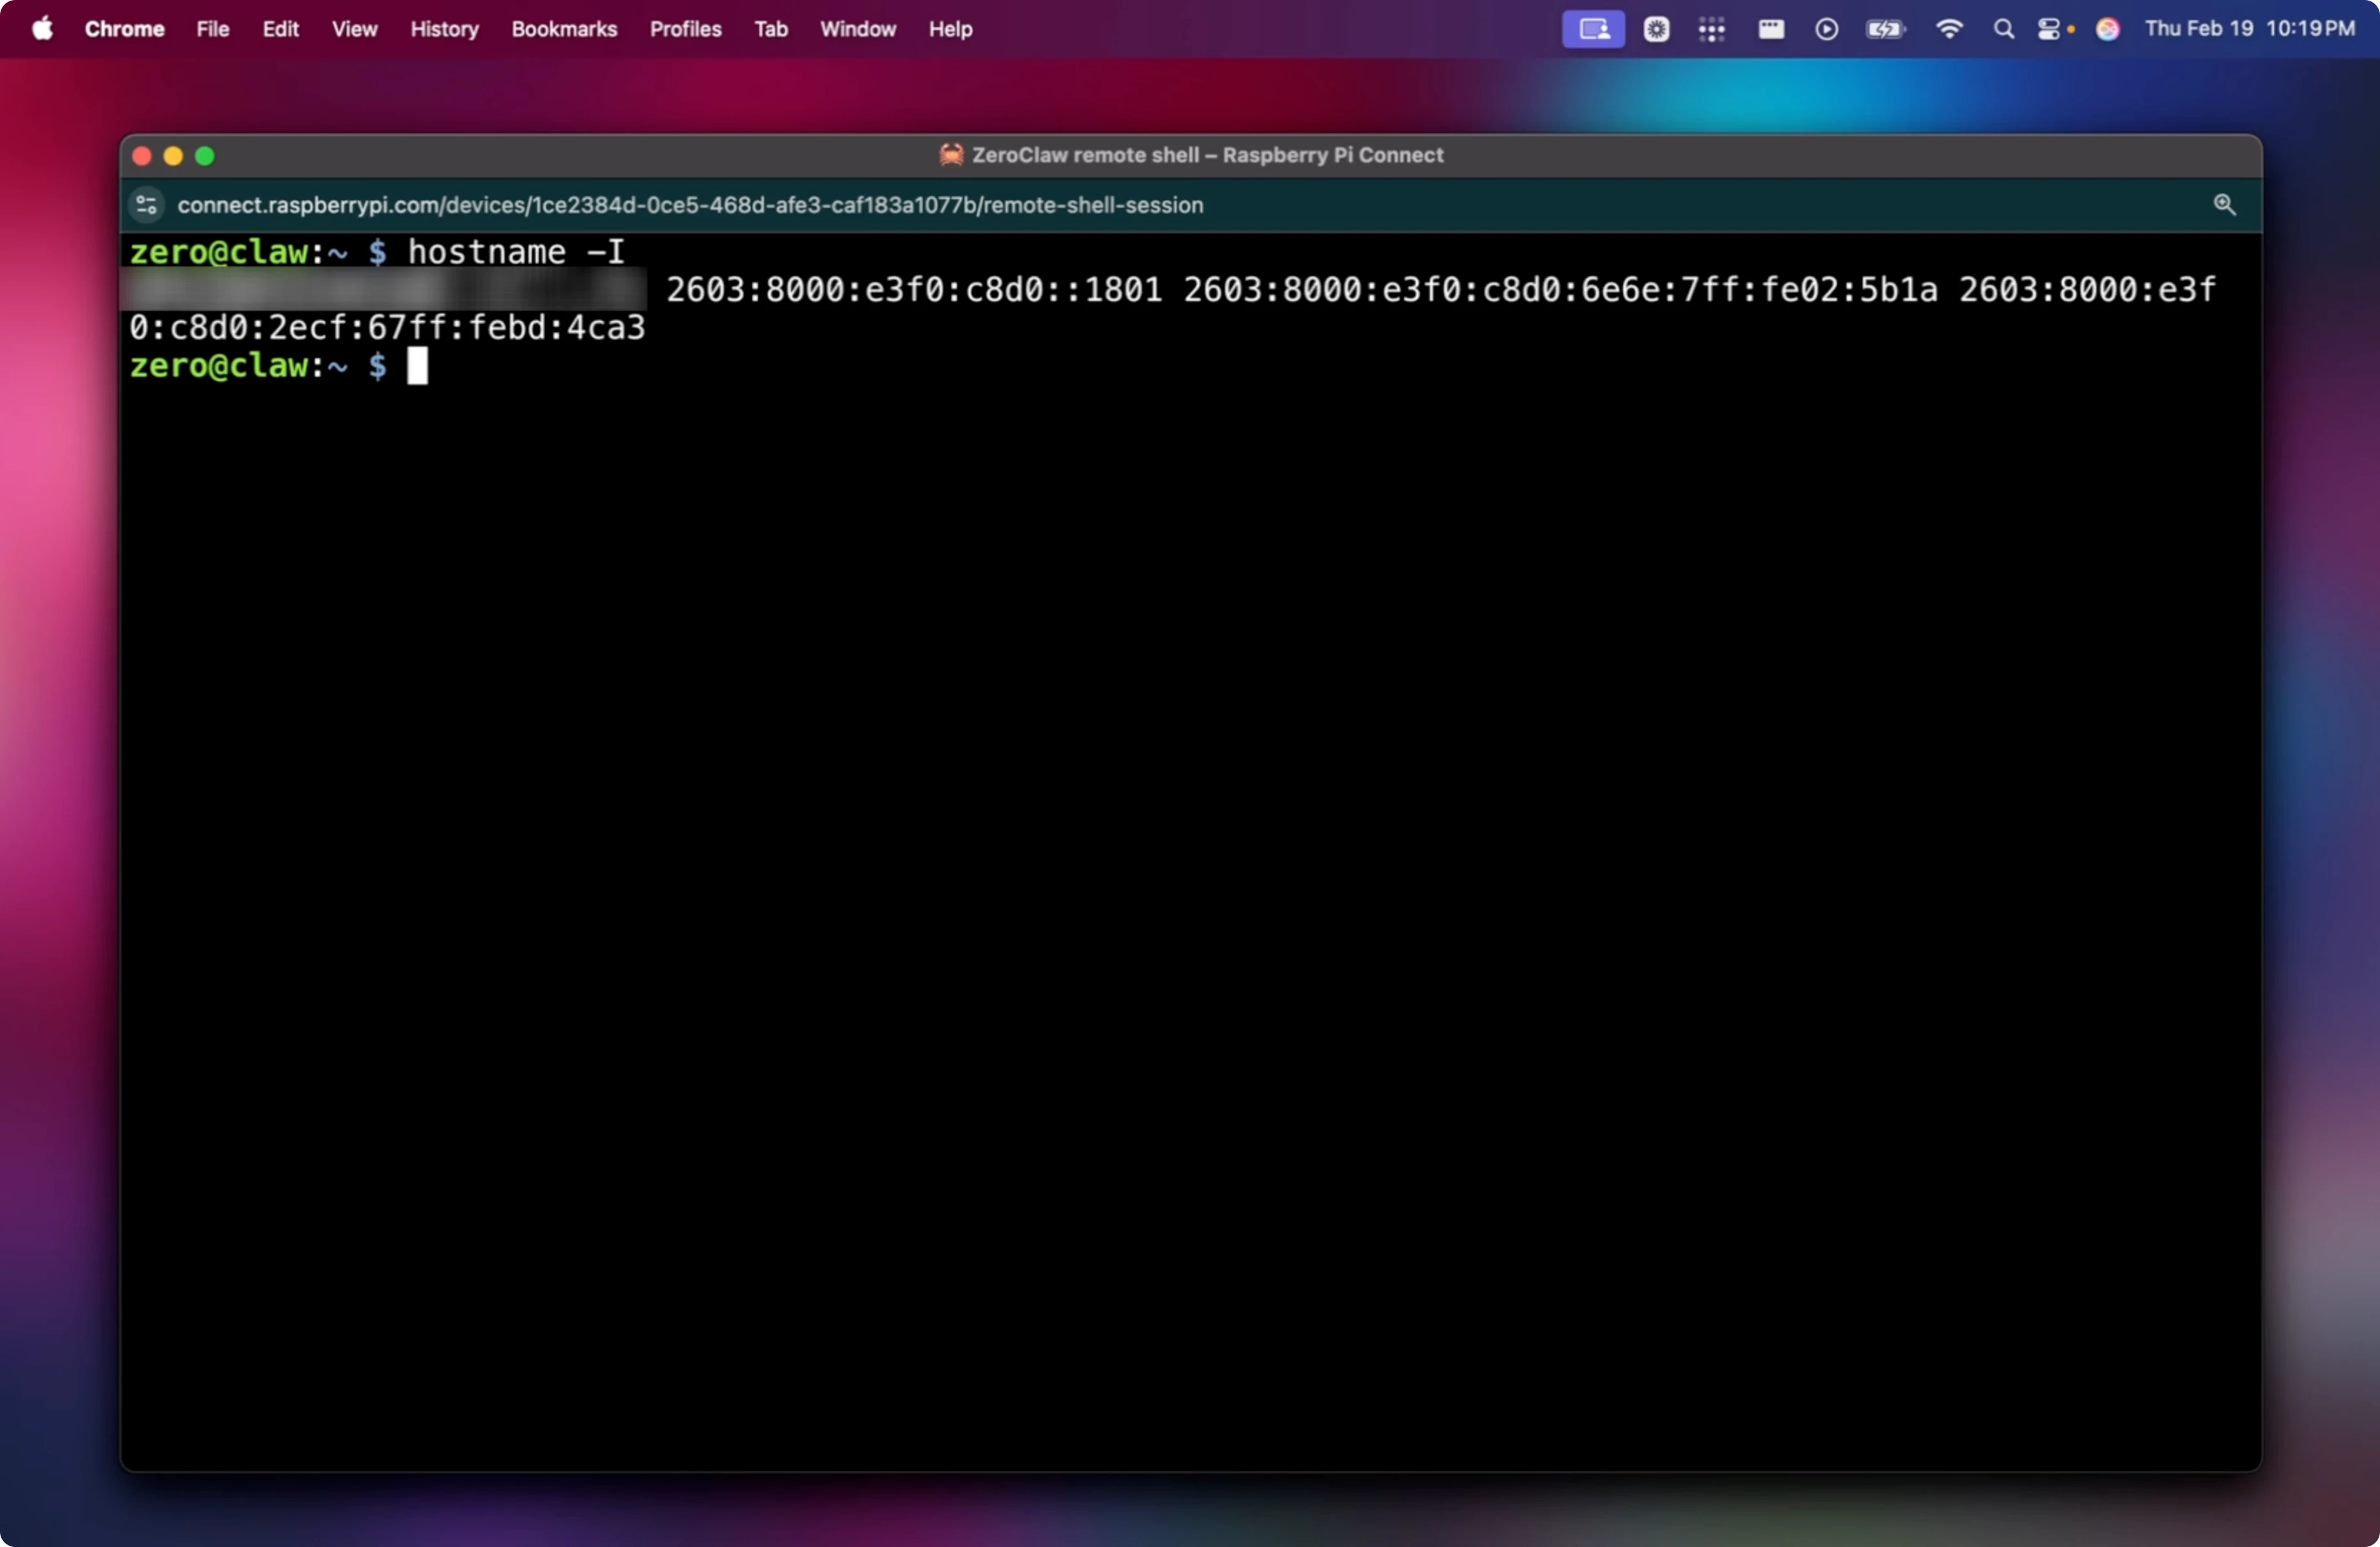
Assemble the kit, insert the SD card, connect the USB Ethernet adapter through the OTG adapter, and plug into your router. Power on the Pi Zero 2 W and give it about 5 minutes on first boot. Use Raspberry Pi Connect to confirm the device appears, then open a remote shell to grab its IP.
Get the IP on the Pi:
hostname -I
From your main machine, SSH in using the IP shown:
ssh zero@<YOUR_PI_IP>
Accept the host key prompt and authenticate. If you enabled key auth only, your private key will be used and password login is disabled.
# Run ZeroClaw on Raspberry Pi Zero? Base prep
Update package metadata:
sudo apt update
Upgrade packages:
sudo apt upgrade -y
Install essentials used later:
sudo apt install -y curl rsync
If they are already at the newest versions on Debian Trixie, that is fine.
# Run ZeroClaw on Raspberry Pi Zero? Tailscale
Install Tailscale on the Pi using the Linux install command from the Tailscale docs in your terminal. After the installer finishes, bring the node online:
sudo tailscale up
Copy the login URL shown in the terminal into your browser, sign in to your Tailscale account, and approve the device. In the Tailscale admin console, copy the device’s Tailscale IP under Addresses for easy remote access.
If you want to compare ZeroClaw with other options before you proceed, see this more options overview.
# Final thoughts
ZeroClaw’s static Rust binary, tiny footprint, and low memory usage make it a great fit for the Raspberry Pi Zero 2 W. With 64-bit Raspberry Pi OS, key-only SSH, Raspberry Pi Connect, and Tailscale, you get a clean, secure base to run it. Take your time on first boot and upgrades, and you will have a stable tiny host ready for ZeroClaw.