Tested 15 October 2026: Official ZeroClaw v0.8.5-debian, Linux arm64, Docker Engine 29.5.2 and Compose 5.6.0 in a Colima VM on macOS. Startup, browser pairing, service health and data persistence passed. Model inference and messaging channels were not tested in this deployment. A healthy gateway alone does not prove your model can answer.
This guide runs ZeroClaw in Docker with its dashboard available only on your computer. You will create two files, start the service, inspect its health, and replace the container without losing its data. For a native installation, use the installation guide. For providers, agents and migration, use the config.toml guide.
1. Check Docker before starting
Install and start Docker Desktop on macOS or Windows, or Docker Engine with the Compose plugin on Linux. Windows users should run the commands below inside a Docker-enabled WSL2 Linux terminal. These commands use a POSIX shell; they are not PowerShell commands. Windows and native Linux hosts were not independently tested here.
docker version
docker compose version
mkdir zeroclaw-docker
cd zeroclaw-docker
docker version must show both Client and Server. Our test reported client 29.9.1, server 29.5.2, and Docker Compose version 5.6.0. If Server is missing, start your Docker engine before continuing. Use a new directory and volume for this walkthrough.
Command steps include copyable commands and observed output. The screenshots show the actual running dashboard; arrows identify the relevant controls without covering their labels. Original screenshots are linked alongside the annotations.
2. Save the Compose file and configuration
Download compose.yaml and config.toml into the directory you just created. Keep those exact filenames. Alternatively:
curl -fL https://zeroclaw.net/examples/zeroclaw-docker/compose.yaml -o compose.yaml
curl -fL https://zeroclaw.net/examples/zeroclaw-docker/config.toml -o config.toml
docker compose config --quiet
The last command should exit successfully without output. It checks Compose syntax, not model connectivity. The Compose file uses this official image, pinned to the digest pulled during our test:
ghcr.io/zeroclaw-labs/zeroclaw:v0.8.5-debian
sha256:1876f4cfc85d1fd3f418e0607fc9207ef6525113e985092ac09b8dcd179df05e
The Debian variant includes sh and curl, which the initialization and health-check commands below need. Do not substitute the default distroless image: it has no shell. The published manifest includes amd64 and arm64; only arm64 was executed for this guide.
The downloaded Compose file sets:
| Setting | Purpose |
|---|---|
127.0.0.1:42617:42617 | Exposes the dashboard only on the host's loopback interface. |
Gateway host 0.0.0.0 | Lets Docker reach the gateway inside the container. |
require_pairing: true | Requires authentication for protected API requests. |
zeroclaw-data:/zeroclaw-data | Keeps configuration and workspace outside the disposable container. |
restart: unless-stopped | Restarts the service after unexpected exits while the Docker engine is running. |
HTTP /health check | Waits for the gateway to answer before reporting the container healthy. |
The image runs as UID/GID 65534:65534. A fresh named volume inherits the image's prepared directory ownership, so this walkthrough does not need a root container or host-folder permission changes.
The schema-3 config declares an assistant agent, a read-only risk profile, and an Ollama provider at http://host.docker.internal:11434. This endpoint is a starting point, not a bundled model server. Inside a container, 127.0.0.1 means that container itself. Docker Desktop provides host.docker.internal; the supplied Linux host-gateway mapping targets the Docker host, which can be a VM with Colima. Confirm the reachable provider address for your environment before attempting chat. Do not expose Ollama publicly to make it reachable. See the provider configuration examples.
3. Pull the image and initialize a fresh volume
docker compose pull
docker compose run --rm --no-deps -T --entrypoint sh zeroclaw \
  -c 'cat > /zeroclaw-data/.zeroclaw/config.toml' < config.toml
docker compose run --rm zeroclaw --version
Observed version output:
zeroclaw 0.8.5
The initialization command copies your local config into the persistent volume. Run it only for a new deployment: running it again overwrites the stored configuration, including changes made through the dashboard. The --rm option removes the temporary initialization container, not its named volume.
| Container path | Stored content |
|---|---|
/zeroclaw-data/.zeroclaw/config.toml | Active configuration and persisted pairing settings. |
/zeroclaw-data/workspace | Workspace explicitly selected by this example. |
/zeroclaw-data/data | Image's configured data directory. |
/usr/share/zeroclawlabs/web/dist | Dashboard assets supplied by the image, outside the data volume. |
4. Start ZeroClaw and read its logs
docker compose up -d --wait
docker compose ps
docker compose logs --tail=50 zeroclaw
Our container reached Healthy. The ps output showed Up ... (healthy) and 127.0.0.1:42617->42617/tcp. Startup logs announced ZeroClaw Gateway listening on http://0.0.0.0:42617, the dashboard, pairing instructions and the /health endpoint. The address in that log is the container's listening address; open the host address in the next step.
Logs can include a one-time pairing code. Use your own code and do not share it in screenshots or support tickets. To follow new logs, run docker compose logs -f zeroclaw; Ctrl+C exits log viewing while the detached service keeps running.
5. Open the dashboard and check services
Open http://127.0.0.1:42617. On the first visit, click Pair using the locally displayed code, or enter the current code from your own container logs. After pairing, the dashboard should show the assistant agent. Select Health as indicated below.
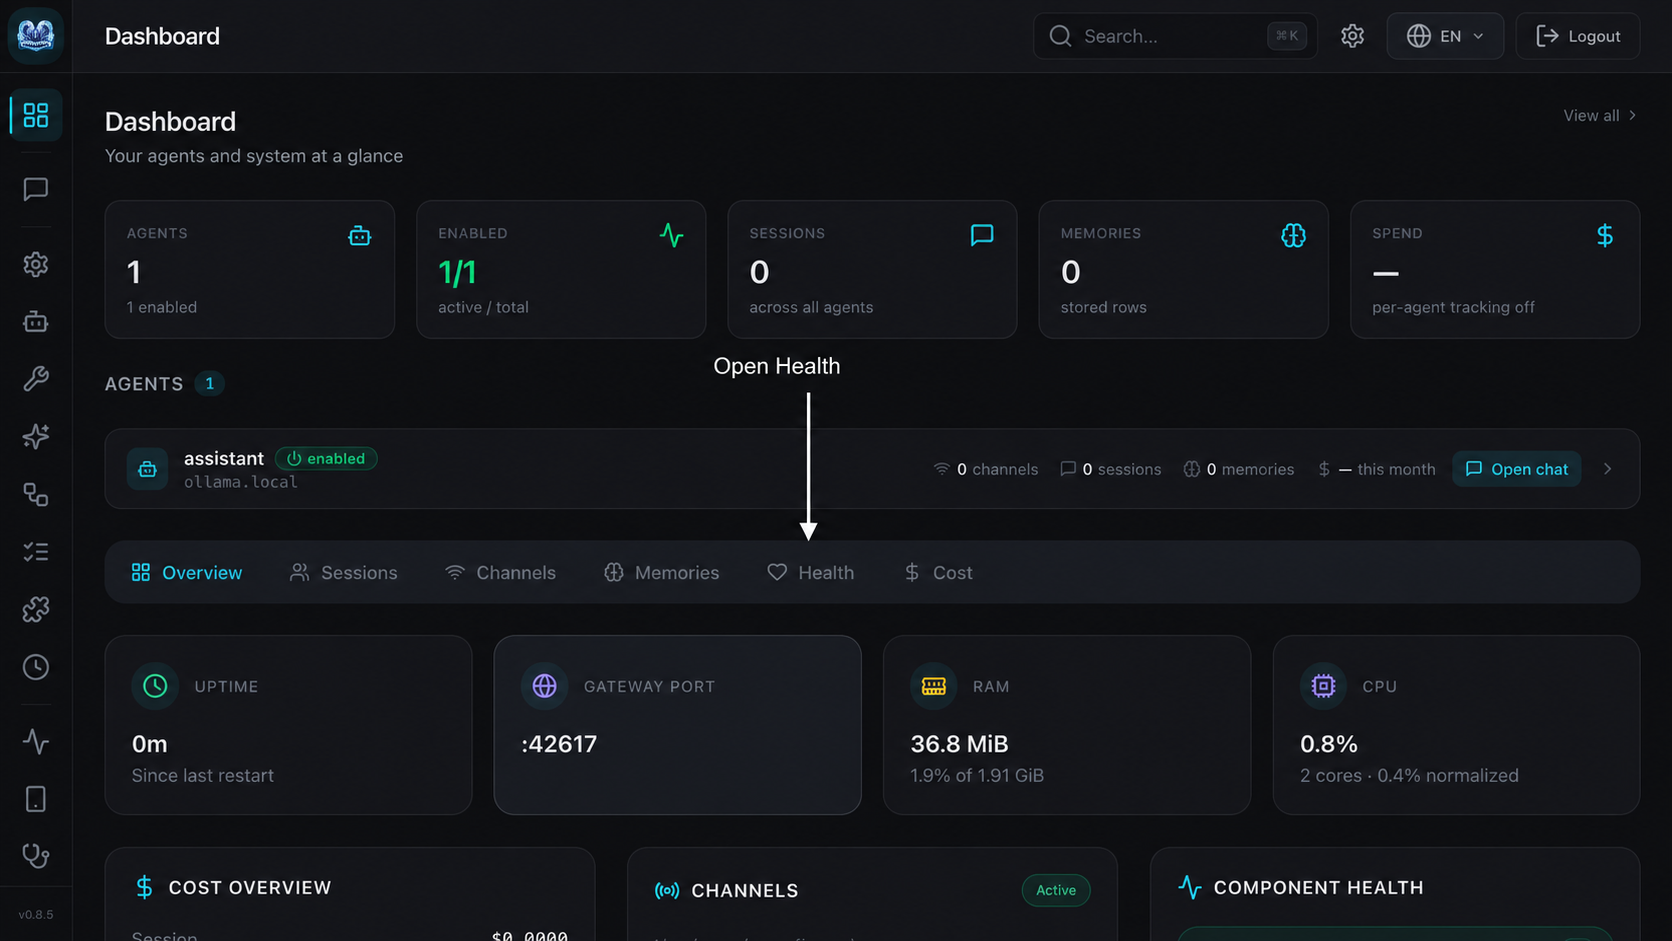
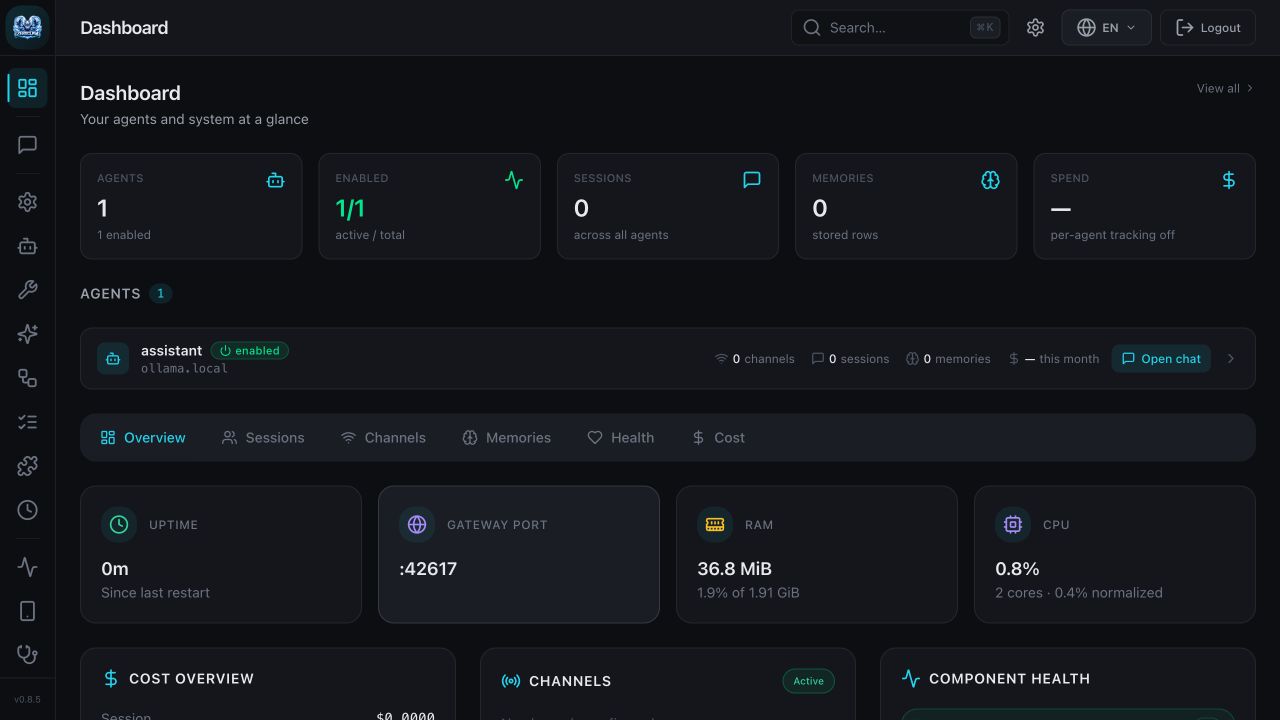
View the original dashboard screenshot.
Scroll through Component Health and check that daemon and gateway report OK. The screenshot below was captured after our container replacement test in step 6.
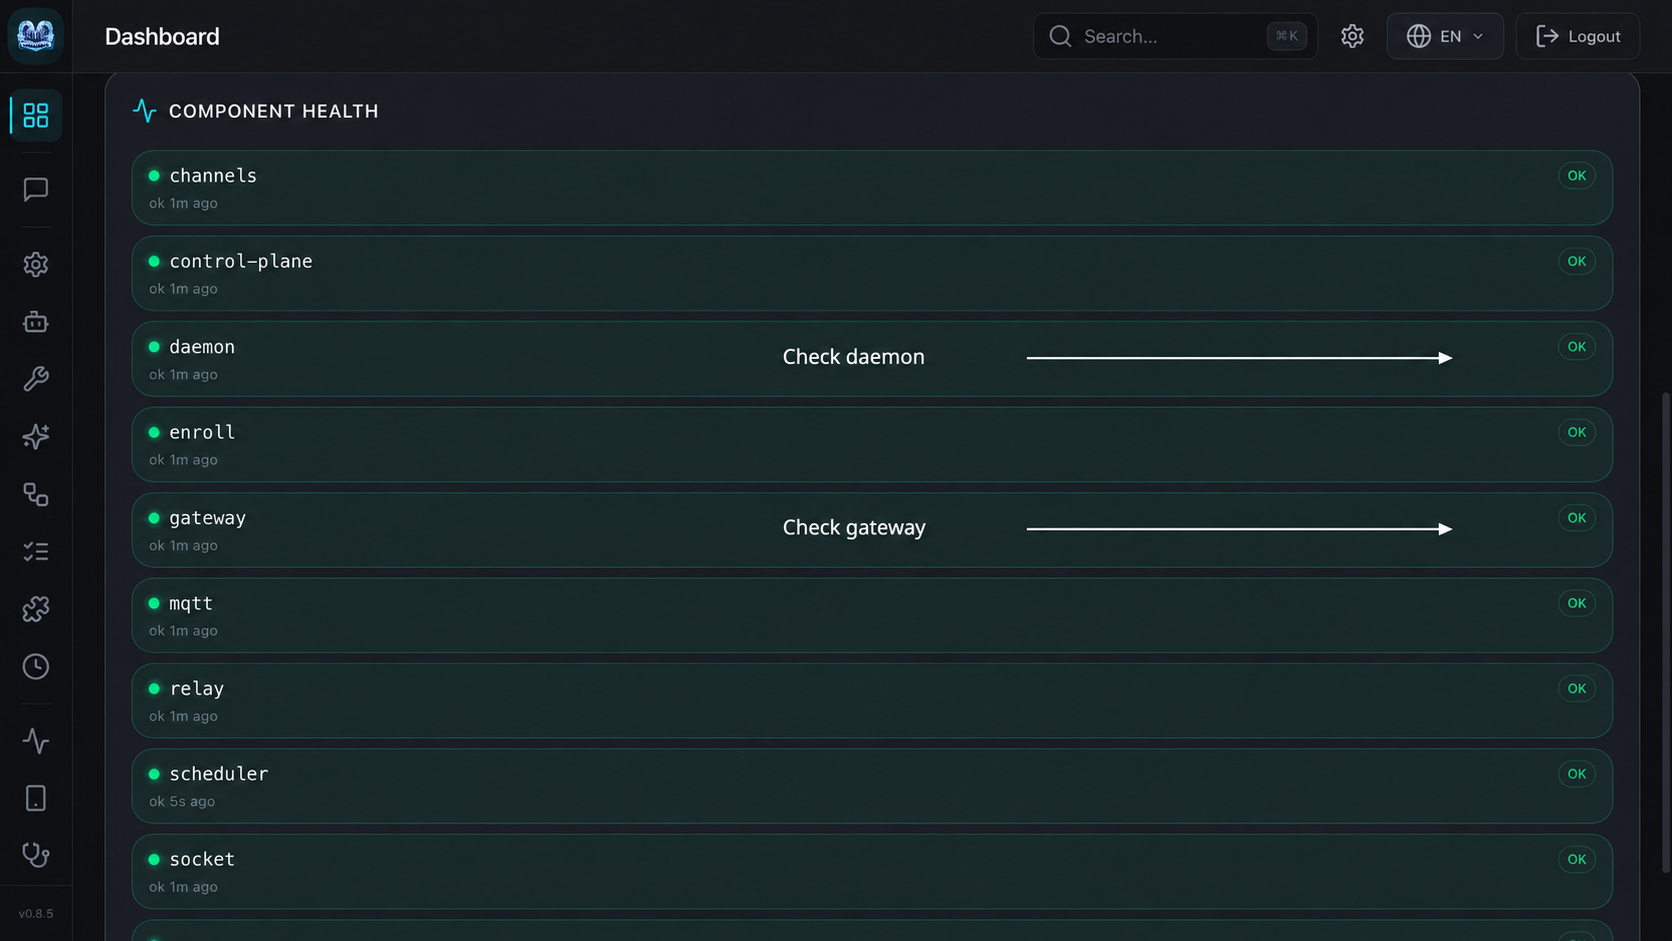
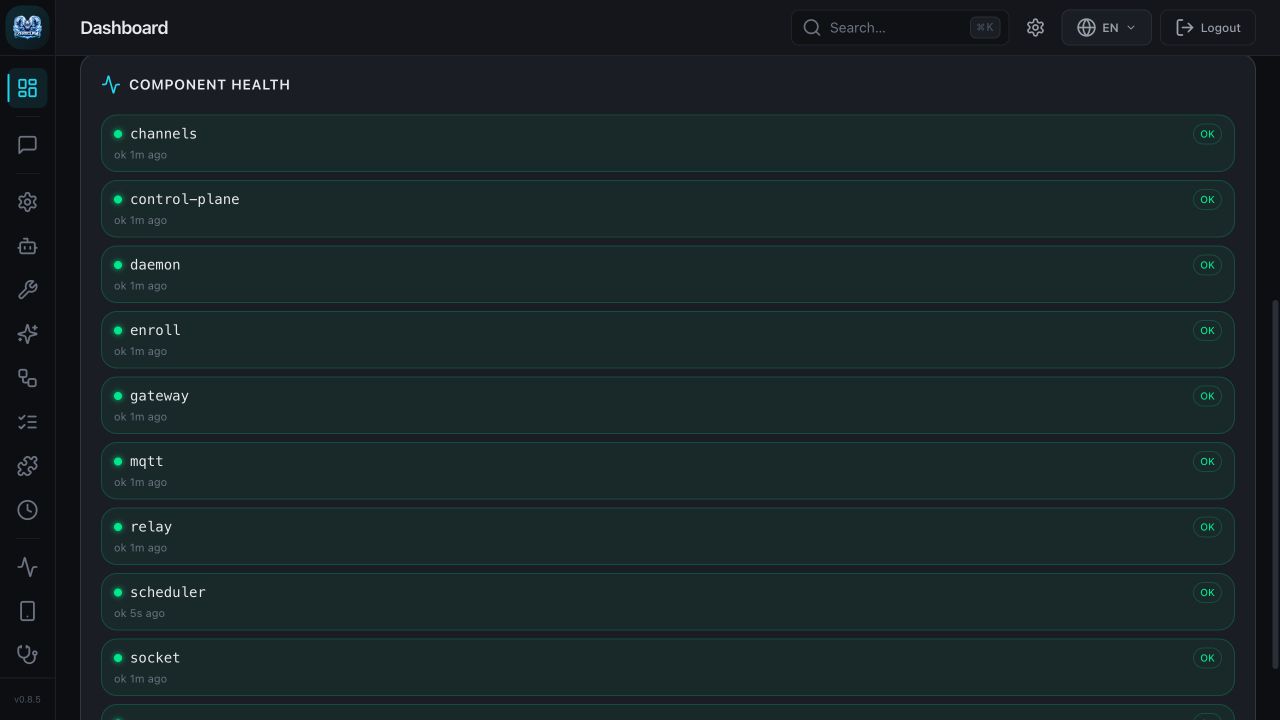
View the original health screenshot.
Also check from your terminal:
curl -fsS http://127.0.0.1:42617/health
curl -s -o /dev/null -w '%{http_code}\n' http://127.0.0.1:42617/api/status
Our health response contained "status":"ok", "paired":true and "require_pairing":true, with runtime components reporting ok. The second command returned 401, as expected without a bearer token. A browser session being paired does not authenticate a separate curl request. Component health does not prove that a model, Telegram bot or other external integration is connected.
6. Prove that data survives container replacement
Create a harmless marker in the configured workspace, record both file hashes and the container ID, then remove and recreate the service:
docker compose exec zeroclaw sh -c \
  'mkdir -p /zeroclaw-data/workspace; printf "Docker persistence verified\n" > /zeroclaw-data/workspace/docker-persistence-check.txt'
docker compose ps -q > before-id.txt
docker compose exec zeroclaw sha256sum \
  /zeroclaw-data/workspace/docker-persistence-check.txt \
  /zeroclaw-data/.zeroclaw/config.toml > before-hashes.txt

docker compose down
docker compose up -d --wait

docker compose ps -q > after-id.txt
docker compose exec zeroclaw sha256sum \
  /zeroclaw-data/workspace/docker-persistence-check.txt \
  /zeroclaw-data/.zeroclaw/config.toml > after-hashes.txt
diff -u before-hashes.txt after-hashes.txt
cat before-id.txt after-id.txt
docker compose exec zeroclaw cat /zeroclaw-data/workspace/docker-persistence-check.txt
Expected: diff prints nothing and exits successfully, the two container IDs differ, and the final command prints Docker persistence verified. In our run, the container ID changed from 0cccfd3f6d02… to 1d8df7a041d1…; both hashes remained identical. The marker SHA-256 was:
4af3309b2a284cb7aafad6cd738021df0a246f8ddaffc723915282cef517eb2e
Reload the browser and check Health again. Our existing paired session still opened the dashboard, and the replacement service became healthy. This checks replacement, not a full backup restore or a host-reboot test.
Keep the volume: docker compose down retains it; adding --volumes deletes it. Keep the Compose project name zeroclaw-docker-guide unchanged when reusing this data. A different project name can create a different volume and look like data loss. Back up the full named volume before upgrades; do not rely on the image or your original local config file as a backup of runtime changes.
7. Stop, troubleshoot and choose your next step
Use docker compose stop to stop the service without removing its container, then docker compose up -d --wait to start it again. To upgrade, back up the volume, review release/migration notes, update the pinned tag and digest, pull, recreate, and repeat the health and persistence checks. Avoid silently following latest for a deployment you want to reproduce.
| Symptom | What to check |
|---|---|
| Cannot connect to Docker daemon | Start Docker Desktop or your selected engine; check docker context show and docker version. |
| Port 42617 already allocated | Stop the conflicting service or change only the host side to 127.0.0.1:42618:42617; browse port 42618. |
| Service exits or stays unhealthy | Read docker compose logs --tail=100 zeroclaw; check config syntax, provider aliases and the mounted config path. |
sh or curl not found | Use the pinned Debian variant supplied here; the distroless image cannot run these shell commands. |
| Dashboard works but chat fails | Verify your actual provider server, model name, credentials and network address; runtime health does not test inference. |
| Protected API returns 401 | Authenticate that client; the unauthenticated check above is deliberately expected to return 401. |
| Data seems missing after recreation | Inspect docker volume ls and the Compose project name; confirm the same volume is mounted at /zeroclaw-data. |
Next, configure and test one model using the config guide. For native setup, return to Install ZeroClaw. For errors outside this walkthrough, see the troubleshooting hub.
Sources and test boundary
This walkthrough uses the official v0.8.5 release, tagged Dockerfile, tagged Compose example, and container documentation. Our supplied configuration deliberately enables pairing and binds the published host port to loopback. The screenshots are from the tested container, with guidance arrows added; originals remain available for comparison.
Test resources were two virtual CPUs, 2 GiB VM RAM and a 10 GiB data disk. These are the resources allocated for this deployment test, not universal requirements for running models. No GPU, model download, paid provider call, public ingress or channel delivery was tested.